You want crisp, clear views of planets, star clusters, and even bright deep-sky objects without spending over €1000 — and you can get a capable, easy-to-use telescope in that price range. Expect practical recommendations for beginner-to-intermediate telescopes that balance aperture, portability, and features so you can start observing confidently tonight.
This guide shows which telescope types work best for different goals, the key features to prioritize, and strong Dobsonian and GoTo options under €1000 that fit common budgets and storage limits. Whether you value raw light-gathering power for visual observing or automated tracking for easier target finding, you’ll find a concise path to a smart purchase that matches your observing plans.
Why Choose Telescopes Under €1000
You get materially better optics, steadier mounts, and useful accessories without spending as much as a high-end instrument. Expect real improvements in aperture, build quality, and guidance features that make observing planets, deep-sky objects, and lunar detail easier and more rewarding.
Advantages for Beginners and Intermediates
When you choose a telescope under €1000, you gain aperture and optical quality that reveal planets, star clusters, and brighter nebulae with clear contrast. A 6–8 inch (150–200 mm) Dobsonian or a 90–130 mm apochromatic refractor in this range often delivers crisp planetary views and pleasing deep-sky performance.
Mount quality improves too. You’ll commonly find sturdy Dobsonian bases or computerized equatorial/alt-az mounts with GoTo or smartphone alignment. That means less time fighting vibration and more time tracking Jupiter’s cloud bands or following a comet across the sky.
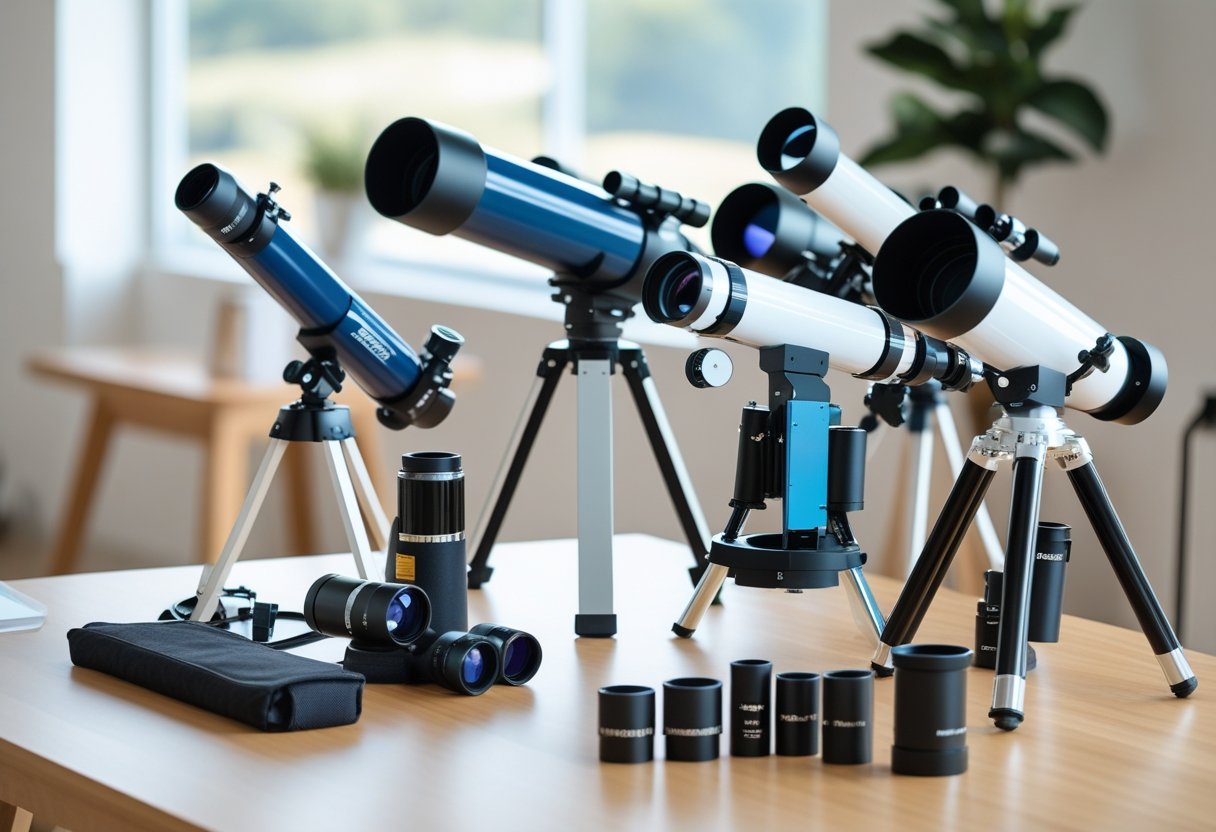
Accessories included at this price typically matter: a good set of eyepieces (25–10 mm), a 2x Barlow, and a decent finder or StarSense-style phone adapter. Those extras let you experiment with higher magnifications and framing without immediate additional purchases.
What to Expect in This Price Range
Expect optics with multi-coated glass, often with better glass types (ED or HD elements in refractors) that reduce chromatic aberration and improve color fidelity. Apertures that gather significantly more light than beginner scopes become common, enabling you to see magnitude limits a full star class or two deeper under dark skies.
Mounts will usually support astrophotography basics. You can take short-exposure planetary stacks and guided wide-field images on an equatorial mount. However, expect limits: long-exposure deep-sky imaging will still need upgrades (guidescopes, heavier mounts) to reach professional-level results.
Durability and resale value are better than low-budget models. Mid-range telescopes often retain useful trade value and come from manufacturers that provide spare parts, documented collations, and community support. That makes them a practical first long-term instrument.
Comparison to Low-Budget and High-End Models
Compared with low-budget telescopes (under ~€300), mid-range models deliver larger apertures, less plastic in the mechanicals, and optics that don’t require constant tinkering. Cheap scopes often have flimsy mounts, subpar eyepieces, and poor collimation retention. You’ll avoid those common frustrations with a €1000 or under purchase.
Against high-end telescopes (€1500+), you trade ultimate resolution, larger apertures, and the strongest mounts for affordability and accessibility. High-end rigs excel at long-exposure astrophotography and faint-object detection; mid-range systems give you most visual performance and entry-level imaging capability for a fraction of the cost.
If you want the best telescopes for every budget, a mid-range choice hits the sweet spot: significant optical and mechanical upgrades over budget models, while leaving room to upgrade parts to reach high-end capability when you’re ready.
Key Features to Look For

You’ll want optics that gather plenty of light, a mount that stays steady, and a size you can store or transport without hassle. Focus on aperture, optical design, and how the scope fits into your life.
Aperture and Its Impact on Viewing
Aperture is the single most important spec: it’s the diameter of the primary lens or mirror and directly determines how much light your telescope collects. Larger apertures (e.g., 150–200mm) reveal fainter deep-sky objects and finer planetary detail; smaller apertures (70–90mm) perform well for the Moon and bright planets and keep the kit highly portable.
Expect trade-offs: more aperture increases weight and requires a sturdier mount. If you plan backyard observing from suburban skies, a 114–130mm reflector or a 90–120mm refractor often delivers the best balance under €1000. For low-light sites, prioritize aperture; for bright-city use, prioritize convenient setup and good coatings over raw diameter.
Types of Optical Designs
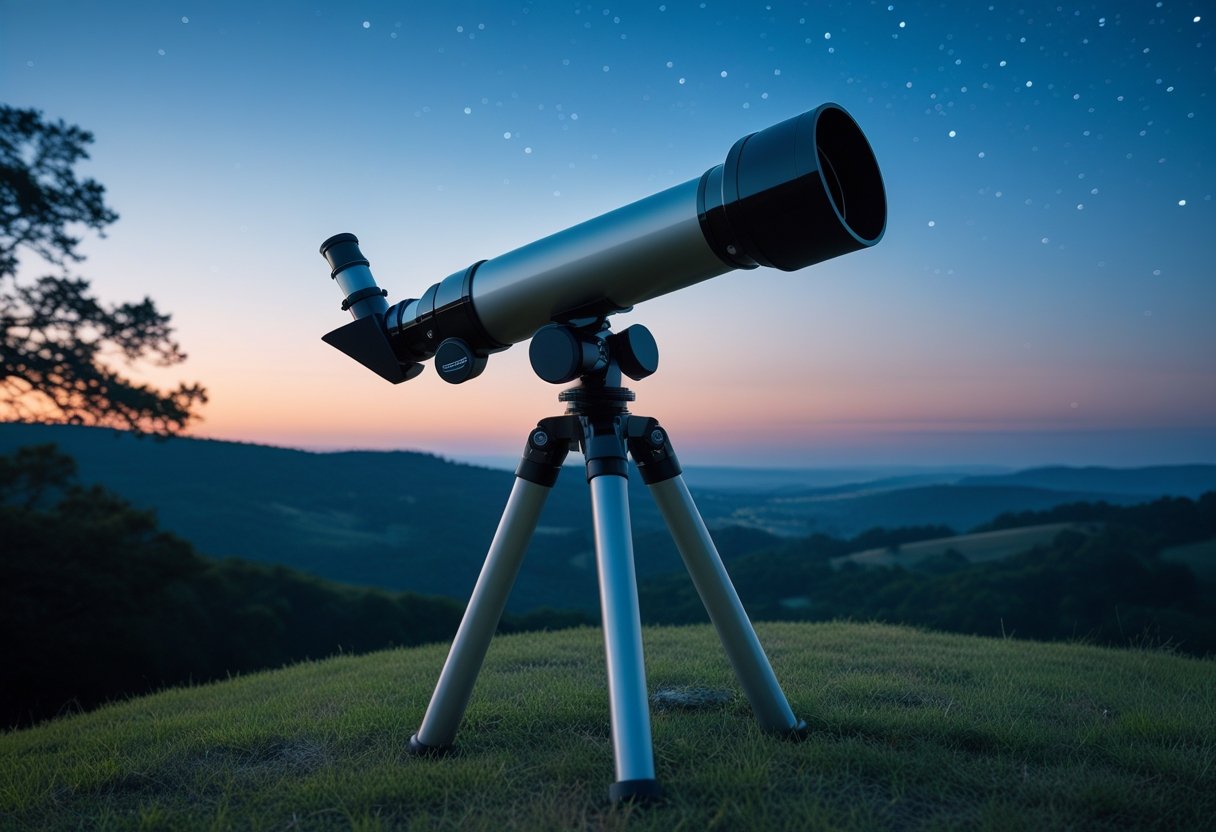
Refractors use a lens at the front; they give crisp contrast, minimal maintenance, and are excellent for lunar and planetary views. A quality 80–102mm apochromatic (or well-corrected achromat) refractor serves beginners who value sharp images and quick setup.
Reflectors (Newtonians) use a primary mirror to deliver the most aperture per euro. A 130–200mm Dobsonian puts more light and resolving power into an easy-to-use alt-az mount, making Dobsonian telescopes the best choice when you want maximum object visibility for the money. Expect occasional collimation and a bulkier tube.
Compound designs (Maksutov–Cassegrain, Schmidt–Cassegrain) compress long focal lengths into compact tubes; a Mak70 or similarly sized Mak gives high magnification in a travel-friendly package. Flextube Dobsonians add convenience: they collapse for transport but extend for observing, combining portability with large aperture.
Portability and Storage
Decide how you’ll use the scope: car trips, public outreach, balcony sessions, or trekking to dark sites. Weight, tube length, and whether the telescope breaks into pieces matter more than brand names. A collapsible flextube or a short-tube refractor fits tight car trunks and small closets.
Mount type affects portability too. Dobsonian mounts are simple and stable but can be bulky; an alt‑az tripod with a lightweight refractor or a compact Mak on a small mount travels easily. Check case options: padded hard cases or molded backpacks protect optics during transit and extend the lifespan of your investment.
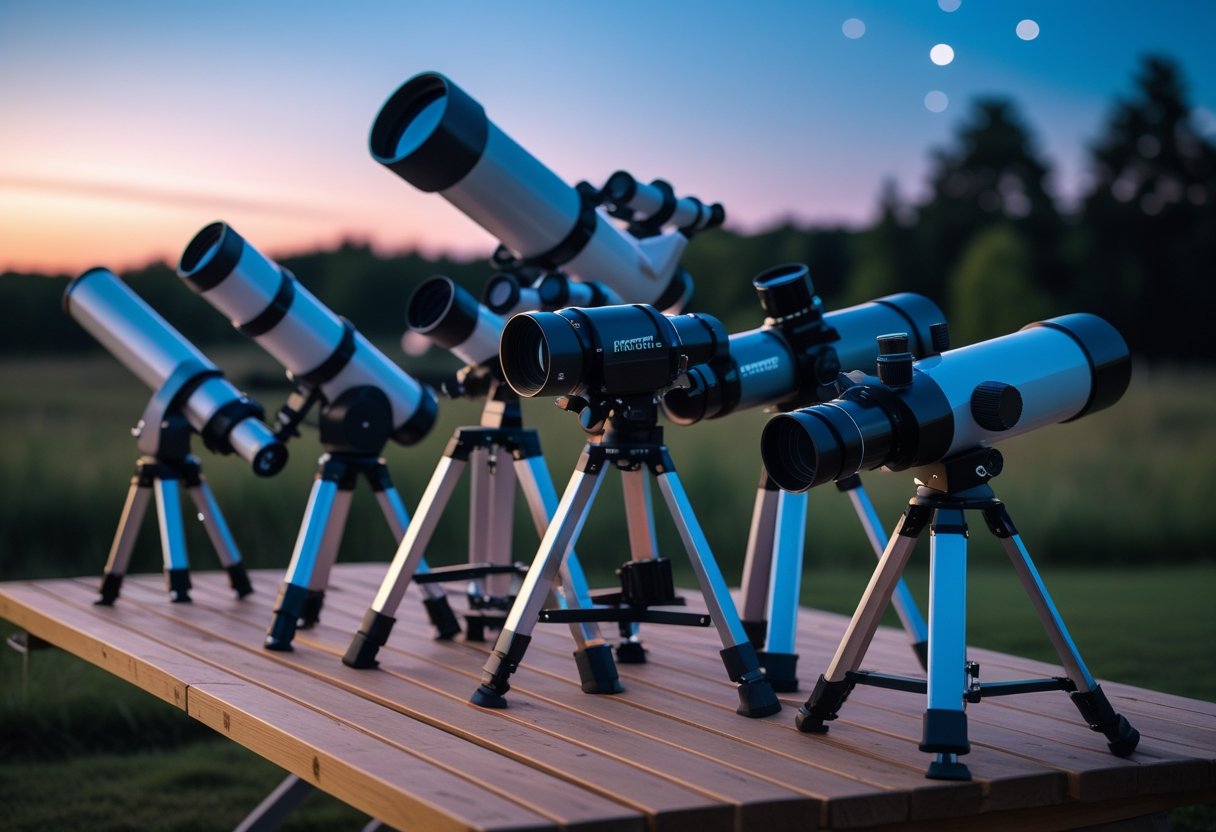
Types of Telescopes Available
You’ll find three practical telescope families in this price range: simple, high-aperture designs for deep views; motorised models that point and track for you; and classic manual scopes that balance portability and control. Each type trades ease of use, aperture, and features differently, so match choice to how you plan to observe.
Dobsonian Telescopes Explained
Dobsonians (often called Dobs or Dobson) give you the largest clear aperture per euro, which matters most for resolving faint galaxies, nebulae, and detail on planets. You get a Newtonian reflector optical design mounted on a simple, rotating alt-azimuth base. That base is stable and low-cost, so manufacturers can put more budget into a bigger mirror.
Assembly and setup are fast: mount the tube on the rocker box, collimate the primary and secondary mirrors, and you’re observing. Collimation is the main maintenance task; it’s straightforward once you learn it. Tabletop and floor-standing sizes vary—an 8–10 inch Dobsonian is a sweet spot under €1000 for serious views without excessive bulk.
Computerised and GoTo Telescopes
GoTo or computerised telescopes use motors and a database of objects to find and track targets for you. You align the scope using one or two bright stars, then the controller slews to selected objects—handy if you want quick access to planets, Messier objects, or double stars without star-hopping. Many models include tracking that compensates for Earth’s rotation, which helps with longer visual sessions and basic astrophotography.
These systems come in reflector, refractor, and compound (Schmidt-Cassegrain/EdgeHD) forms; the control interface varies from handheld keypads to smartphone apps. Consider total payload: mounts with GoTo hardware often cost more and add weight. Battery life, database size, periodic error correction, and firmware updates are practical details that affect real-world use.
Traditional Manual Telescopes
Manual telescopes include classic alt-azimuth refractors, achromatic and apochromatic designs, and equatorial mounts for skilled users. You’ll use hand controls and star-hopping techniques to locate targets, which teaches sky navigation and costs less in electronics. Manual equatorial mounts let you track by nudging one axis; with a simple motor drive you can add tracking later.
Manual scopes tend to be lighter and more portable—an 80–100mm refractor on a wooden tripod travels well. Opt for solid slow-motion controls, sturdy tripod legs, and good finderscope or reflex sight to make manual use pleasant. If you want to learn the sky and keep weight and repair needs down, a manual scope often gives the best combination of practice and reliability.
Best Dobsonian Telescopes Under €1000
Dobsonian telescopes give you the most aperture per euro, easy setup, and stable mounts for deep-sky viewing. Expect large mirrors, simple alt-az mounts, and options that trade portability for raw light-gathering power.
Recommended Models for Maximum Aperture
If you want the biggest mirror for the money, target 10–12 inch Dobsonians. A 10″ (254 mm) mirror noticeably brightens galaxies and nebulae compared with 8″, and a 12″ (305 mm) brings even fainter fuzzies into view. Look for parabolic primary mirrors and solid Dobsonian rocker boxes; they keep images sharp and reduce wobble when you nudge the tube.
Consider models with 2″ focusers so you can use wide-field eyepieces and reducers without vignetting. Pay attention to total packed weight: a 12″ can exceed 30–35 kg and may need vehicle space. For a specific example, the Apertura AD10 and Zhumell/Z12-class scopes often appear near this price point and prioritize aperture over accessories.
FlexTube and Collapsible Options
If storage and transport matter, choose a collapsible or FlexTube Dobsonian. These designs let you shorten the optical tube for car travel and apartment storage without sacrificing primary mirror size. The FlexTube collapses by sliding the upper tube into the lower cell; that cuts length and makes carrying easier.
Collapsible models sometimes add a slight stray-light or tube-cooling trade-off, but modern baffle designs keep contrast high. Confirm that the mount still supports the tube securely when extended and collapsed. If you plan to attach a camera or heavier eyepieces, check the rocker box stability and whether the base has adjustable altitude bearings to maintain smooth motion.
Brands to Consider: sky-watcher and Others
Sky-Watcher offers several competitively priced Dobsonians, including collapsible and solid-tube options with good mirror quality and reliable mounts. The Sky-Watcher Classic and Collapsible Dobsonians are common recommendations for balanced performance and value; they typically include 1.25″ and 2″ focusers and decent finders.
Other brands to watch for include Apertura, Zhumell (US-imported models in some markets), and Orion. Apertura and Zhumell often push larger apertures at attractive prices, while Orion has a wide dealer network and accessory ecosystem. When comparing, inspect primary mirror coating (enhanced aluminum or dielectric), focuser size, and mount top plate—those details affect usability more than small differences in listed aperture.
Top Computerised and GoTo Telescope Picks
These picks focus on systems that find and track targets automatically, give you precise pointing, and let you spend more time observing than hunting. Expect strong tracking, easy alignment, and controllers that guide both manual slewing and automated GoTo sequences.
Key Benefits of GoTo Systems
GoTo telescopes let you select an object by name or catalog number and have the mount automatically slew to and track it. That saves time when you want to jump between planets, Messier objects, or specific stars during a single session.
Accurate tracking reduces drift in the eyepiece and keeps targets centered for longer, which helps when you’re sketching or doing short-exposure astrophotography.
You also get predictable repeatability: once you’ve aligned the system, you can reliably return to an object on subsequent nights without blind searching. Many models include large databases (tens of thousands of entries) and built-in alignment aids like SkyAlign or GPS time/position sync.
For field use, choose a GoTo with stable motors and an easy power option (internal rechargeable battery or external 12V pack) so you don’t lose alignment mid-session.
Best Models with Hand Controller Features
Pick a telescope whose hand controller balances an intuitive interface with useful advanced options. Look for controllers that offer large object databases, multiple alignment methods (two-star, three-star, or SkyAlign), and the ability to store custom user objects.
Good controllers provide real-time feedback (RA/Dec readouts), tracking rate selection (sidereal, lunar, solar), and slew-speed presets that let you nudge the scope precisely without overshooting.
Some controllers connect to apps or accept PC/phone control via USB or Wi‑Fi, which expands plate-solving or planetarium integration. Check for tactile buttons and a clear display for cold, dark nights; backlit screens help when you’re working without a red flashlight.
If you plan to do astrophotography, prioritize models whose controllers support autoguider ports or ASCOM/EQMOD compatibility so you can integrate guiding software and improve exposure times.
What You Can See: Exploring the Night Sky
You’ll see bright planets, crisp lunar features, and—under dark skies—faint fuzzies like nebulae, star clusters, and distant galaxies. Aperture, magnification, and sky darkness determine how much detail appears.
Observing Planets and Lunar Details
You can resolve lunar craters, rilles, and mountain shadows easily with telescopes in this price range. On the Moon, look for crater chains and the central peaks in larger craters at 100–200x magnification for striking relief. Use a low-power eyepiece first to frame large maria, then switch to higher power for rim detail.
Planets show distinct, observable features. Jupiter reveals cloud bands, the Great Red Spot (when visible), and its four Galilean moons as tiny disks. Saturn’s rings and the Cassini Division become visible at moderate magnifications; you’ll also see the planet’s slight oblate shape. Mars shows polar caps and some surface darkening during opposition. Venus displays phases; Mercury is a harder target but shows phases too.
A steady mount and good seeing are more valuable than extreme magnification. Use color or lunar filters to increase contrast: a neutral density filter reduces glare on the Moon, while red/green filters can bring out planetary details.
Viewing Nebulae and Star Clusters
Under suburban skies, emission nebulae like the Orion Nebula (M42) appear as a bright, structured glow through 90–150mm apertures. You’ll discern the Trapezium star group and brighter dust lanes with modest magnification. Larger apertures and darker skies reveal more nebulosity and subtle wisps.
Open star clusters, such as the Pleiades or the Beehive, resolve into dozens or hundreds of individual stars. These clusters are spectacular at low to medium power because you get wide-field views and contrast between bright and faint members.
For faint emission nebulae and dark nebulae, use a narrowband or UHC filter to increase contrast against the sky background. Spend time at the eyepiece and let your eyes adapt; extended observing reveals structure that quick glances miss.
Exploring Galaxies and Globular Clusters
Galaxies present as faint, diffuse patches in small to medium telescopes. The Andromeda Galaxy (M31) shows a bright core and, under dark skies, its dust lane and companion M32. Spiral arm detail generally requires larger apertures and long-exposure imaging, but you can still enjoy shapes and central brightness with a good 6–8 inch (150–200mm) scope.
Globular clusters like M13 and M15 resolve into a granular core and individual stars as aperture and magnification increase. At low power they appear as concentrated fuzzy balls; at higher power you’ll see stars resolving outward from the center.
Use averted vision and longer views to pick out faint galaxies and the halo of globular clusters. A stable mount, dark site, and patient observing sessions expand what your telescope can reveal.
Leave a Reply