You’ll find that telescope engineering balances simple physics with clever design so you can see faraway worlds. A telescope gathers and focuses light using lenses or mirrors, and engineers optimize size, shape, and materials so you get brighter, clearer views without bulky, fragile parts.
This article walks you through how telescopes work, the main types you’ll encounter, and the core components that make them perform. You’ll also explore the engineering challenges—like making large mirrors, correcting distortions, and building stable mounts—and the practical features that make a scope portable and easy to use.
Expect clear explanations of famous instruments and the innovations that pushed astronomy forward, plus tips on how the community uses different designs for observing or imaging. Follow along to understand how simple physics turns into tools that expand your view of the universe.
How Telescopes Work
You’ll learn how telescopes capture faint light, form a focused image, and make distant details appear larger. The key pieces are the large aperture that collects photons, the optics that shape and focus those photons, and the eyepiece or detector that presents the image to your eye or instrument.
Light Gathering and Focus
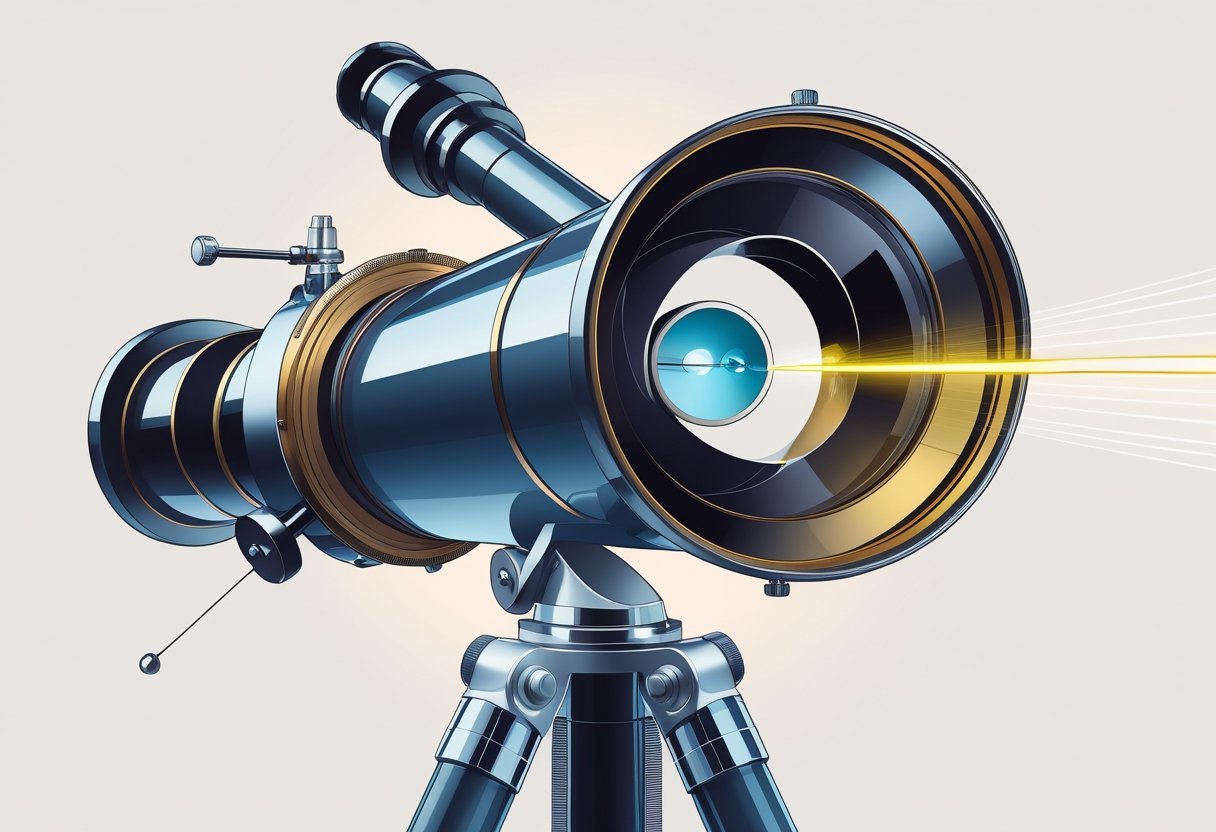
Light gathering depends primarily on the aperture — the diameter of the objective lens or primary mirror. A larger aperture collects more photons per second, so dim galaxies and fine detail become visible faster and with better contrast. Aperture controls both brightness and the telescope’s theoretical resolving power; doubling diameter roughly halves the smallest angular detail you can discern.
Focus means bringing collected light rays to a common point. In refractors the objective lens bends light to a focal plane; in reflectors the curved mirror reflects light to a focus. You adjust the position of the eyepiece or detector relative to that focal plane to get a sharp image. Collimation — aligning the optics — keeps the focal spot tight so stars look like points instead of blobs.
Magnification Basics
Magnification equals the focal length of the objective divided by the focal length of the eyepiece. Longer objective focal length or shorter eyepiece focal length increases magnification. But magnification does not increase detail beyond what the aperture and atmospheric seeing allow.
Practical limits matter: extremely high magnification can make images dim, blurry, and noisy. Instead, match magnification to aperture and sky conditions. Use lower power to find faint objects and wider fields; use higher power to inspect planetary features when the seeing is steady.
The Role of Optics
Optics include the objective (lens or mirror), secondary mirrors or correctors, and eyepiece or camera optics. The objective determines aperture and focal length, which set light-gathering and base magnification. Secondary mirrors redirect or fold the light path in many reflectors; corrector plates and lenses fix aberrations and flatten the focal plane for cameras.
Surface quality and figure matter: microscopic deviations create aberrations like coma or spherical aberration that blur images. Coatings maximize reflectance or transmission and reduce stray light. Adaptive optics in large telescopes actively deform mirrors to counteract atmospheric turbulence, improving sharpness. For backyard telescopes, good collimation, a clean objective, and matching eyepieces give the clearest views.
For more on basic optics and why mirrors are common in large instruments, see NASA’s explanation of how telescopes focus light and use mirrors.
Types of Telescopes
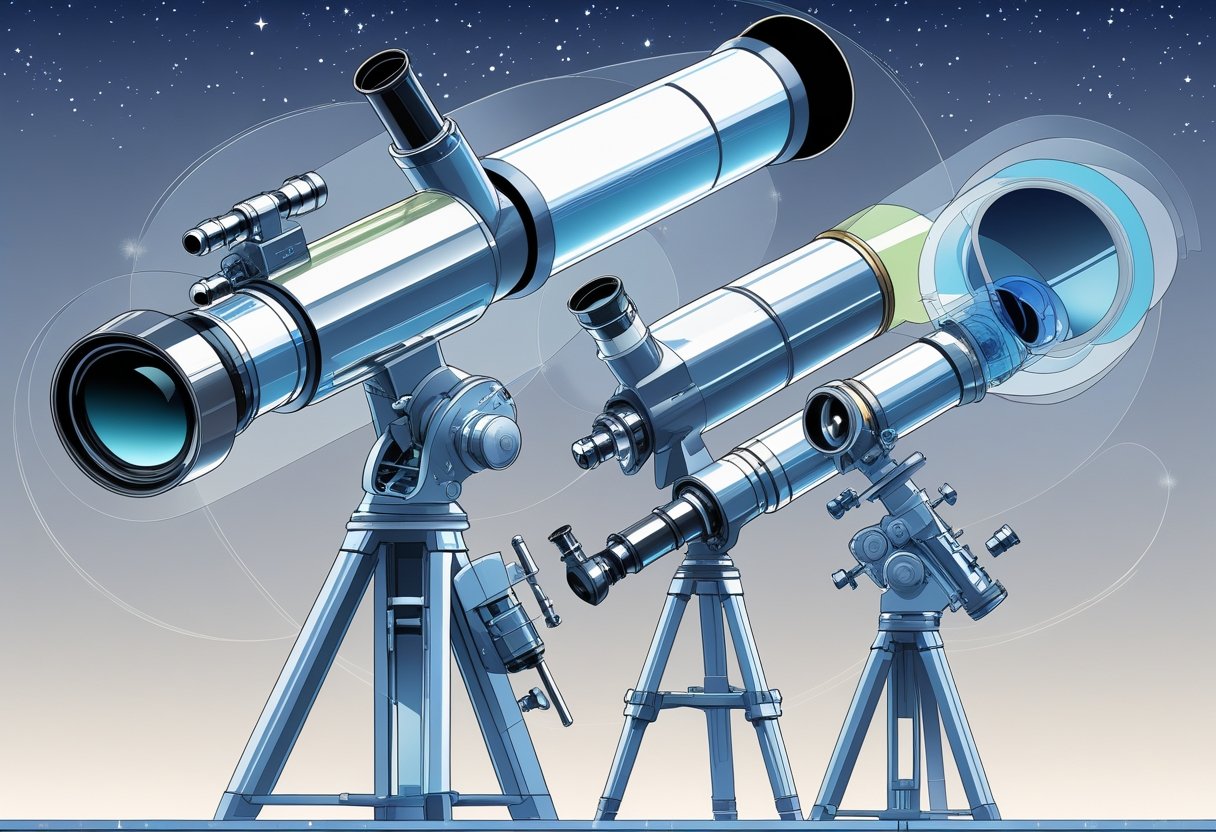
You’ll encounter three practical optical designs used today, each trading off size, cost, and image behavior. Know which factors matter: aperture (light-gathering), focal length (magnification/field), and whether lenses or mirrors form the image.
Refracting Telescopes
A refractor uses a glass objective lens at the front to bend light to a focus. You get sealed optics that resist misalignment and dust, making refracting telescopes low-maintenance for crisp planetary and lunar views.
High-quality apochromatic refractors use extra-low dispersion glass to reduce chromatic aberration; this improves color correction but raises cost and weight. Refractors generally offer sharp, high-contrast images and are compact for their focal length, so you can mount them on small mounts for travel.
Common trade-offs: for the same aperture, a refractor costs more than a reflector. If you need large aperture to gather faint light, refractors become expensive; small-to-medium refractors excel for wide-field imaging and solo visual observing.
Reflecting Telescopes
Reflectors use a primary mirror to collect light and a secondary mirror to redirect it to an eyepiece or camera. Because mirrors eliminate chromatic aberration and are cheaper per inch of aperture, reflectors give you much larger apertures for the money. That makes them ideal for deep-sky observing of faint galaxies and nebulae.
Newtonian reflectors, the common consumer type, place the eyepiece on the tube’s side; Dobsonian mounts simplify use and maximize aperture at low cost. Reflectors require periodic collimation (alignment) and an open tube that can need occasional cleaning; they can also show diffraction effects from the secondary support.
If you want raw light-gathering power and affordability, choose a reflector. For large telescopes used in amateur deep-sky work, reflectors dominate because you can scale mirror size without the steep lens costs of refractors.
Catadioptric Telescopes
Catadioptric designs combine lenses and mirrors to create compact, long focal-length optical systems. Examples include Schmidt-Cassegrain and Maksutov-Cassegrain types. These catadioptric telescopes pack long focal lengths into short tubes, which makes them portable while maintaining high magnification suitable for planetary imaging and astrophotography.
They offer good aberration control and often include built-in corrector plates that protect internal optics. The trade-offs: catadioptrics typically cost more than equivalent simple reflectors and can produce central obstruction effects that slightly lower contrast. They do, however, give you a versatile all-purpose instrument when you need a balance of size, focal length, and image quality.
For a compact setup that covers both visual and photographic tasks, a catadioptric telescope often hits the sweet spot between refractors and large reflectors.
Core Telescope Components
You will work with three main optical elements that collect light, shape the image, and set magnification. Each part’s shape and position control focal lengths, image orientation, and the final angular magnification you see.
Lenses: Shapes and Functions
Lenses form and correct the image by bending rays through refraction. The objective lens (usually a large convex lens in a refractor) gathers light and creates the primary image at its focal plane. Its focal length and diameter determine resolution and light-gathering power; longer focal length yields higher native image scale but narrower field of view.
You adjust focus by moving the eyepiece relative to that focal plane. Field flatteners and telecompressors are small corrective lens groups placed near the focus to reduce field curvature and widen the usable field for cameras. Those corrective lenses matter most when you do astrophotography.
Key points:
- Objective lens = convex lens; main light-gatherer.
- Focal length (objective) sets image scale and, with aperture, angular resolution.
- Additional lens groups (field flattener, coma corrector) fix aberrations for sharper edge-to-edge images.
Mirrors: Power and Precision
Reflecting telescopes use mirrors instead of lenses; the primary mirror is typically a large concave surface that collects light and brings it to a focus. A secondary mirror redirects that focus to an accessible eyepiece or detector. Mirror curvature and alignment control focal length and image quality; a parabolic primary minimizes spherical aberration for on-axis stars.
You’ll encounter mirror types by shape: parabolic for fast, on-axis imaging; spherical for simpler fabrication but needing correction; and segmented or honeycomb faces on very large primaries to save weight. Coatings (aluminum, silver, protected overcoats) determine reflectivity and longevity.
Practical checklist:
- Primary mirror = main light collector (concave).
- Secondary mirror redirects light; its size affects central obstruction and contrast.
- Precise polishing and alignment (collimation) are critical for peak performance.
Eyepieces and Magnification
The eyepiece converts the telescope’s intermediate image into one your eye can see. Its focal length and that of the objective or primary mirror set angular magnification by the ratio: angular magnification ≈ (focal length of objective) / (focal length of eyepiece). Short eyepiece focal lengths give higher magnification; longer ones give wider fields and brighter apparent images.
Eyepieces come as simple single-lens designs or multi-element wide-field types that correct edge distortion and provide comfortable eye relief. You must consider exit pupil: aperture divided by magnification; too small and the image dims, too large and your eye can’t accept all the light. Some eyepiece designs also produce an upright image for terrestrial viewing; others invert the image, which is fine for astronomy.
Shopping notes:
- Choose eyepiece focal lengths to match desired angular magnification.
- Check eye relief and apparent field for comfort and framing.
- Combine eyepiece choice with objective/primary focal length to avoid over-magnifying beyond atmospheric or optical limits.
Engineering Challenges and Innovations
You will read practical fixes engineers use to get sharp, correctly oriented images through glass, mirrors, and Earth’s turbulent atmosphere. Expect clear explanations of why each problem matters and the specific hardware or methods that address it.
Chromatic Aberration
Chromatic aberration happens because lenses bend different wavelengths by different amounts. In a simple refracting telescope a blue ray focuses closer to the lens than a red ray, producing colored fringes around bright objects and reducing sharpness.
You can reduce this by combining glasses with different dispersion: an achromatic doublet pairs a low-dispersion crown glass with a high-dispersion flint glass to bring two wavelengths into common focus. For tighter control, an apochromatic triplet corrects three wavelengths and drastically reduces residual color, useful in astrophotography.
Designers also choose glass types by Abbe number and use wavelength-weighted optimization for the instrument’s target band (visible vs. near-IR). In high-end systems, reflective optics (mirrors) avoid chromatic dispersion entirely, which is why many large observatory and space telescopes use mirrors rather than lenses.
Adaptive Optics
Adaptive optics (AO) compensates for atmospheric disturbance that blurs point sources on sub-second timescales. Air temperature gradients and wind create rapidly changing wavefront errors; AO measures those distortions and corrects them in real time.
A typical AO loop uses a wavefront sensor (e.g., Shack–Hartmann), a deformable mirror with dozens to thousands of actuators, and a control computer running at hundreds to thousands of hertz. You feed the sensor light from a natural guide star or an artificial laser guide star when no bright star is available nearby.
Performance metrics focus on Strehl ratio and residual wavefront error in nanometers. For you, that translates to tighter point-spread functions and sharper images that enable spectroscopy and high-contrast imaging of exoplanets. Laser guide stars extend sky coverage but add complexity like sodium-layer return modeling and safety procedures.
Lens and Mirror Quality
Optical figure accuracy and surface roughness set the limit on image quality. For mirrors, you check surface figure error in nanometers peak-to-valley and RMS; for lenses, you inspect in terms of transmitted wavefront error and internal homogeneity. Manufacturing tolerances tighten with aperture and desired wavelength.
You control quality with interferometric testing, profilometry, and ion-beam figuring for mirrors. Coatings matter: dielectric or protected-metal coatings optimize reflectivity across a band and reduce scattered light. Material choices—borosilicate, fused silica, or beryllium for space mirrors—balance thermal expansion, stiffness, and weight.
Mechanical mounting and thermal control prevent stress-induced deformation. Kinematic mounts, isostatic supports, and active mirror figure control keep the optical surface within specs during temperature shifts or pointing changes. Cleanliness and particulate control also affect scattering and throughput.
Image Orientation Solutions
Image orientation differs between refractors, reflectors, and catadioptric designs; you must decide whether to rotate the image electronically or correct it optically. Simple refractors produce an upright image only in certain designs; most telescopes invert or flip images.
Field rotators mechanically rotate the instrument or camera to track a fixed orientation during alt-azimuth telescope tracking. You can use a motorized precision rotator with encoder feedback to maintain astrometric orientation for long exposures. Equatorial mounts avoid continuous rotation by aligning one axis with Earth’s pole, but they add mechanical complexity and balance issues.
For imaging, software can derotate and stack frames, but that increases processing and may limit real-time guiding. Prism-based image erectors or relay optics provide an optical upright image for visual use, at the cost of extra surfaces and potential added aberrations. Choose the solution that matches your observing goals: visual convenience, long-exposure astrophotography, or precise scientific pointing.
Mounts, Portability, and Practical Features
You’ll learn which mount fits your observing goals, how weight and size affect transport and setup, and why motor drives change what you can photograph or track.
Alt-Azimuth and Equatorial Mounts
Alt-azimuth (alt-az) mounts move in altitude (up/down) and azimuth (left/right). They feel intuitive to use: you point the scope like a camera and make two simple adjustments. Alt-az is common on Dobsonian and travel scopes because the design is mechanically simple and often lighter for a given aperture.
Equatorial mounts have one axis aligned to Earth’s pole (the polar or RA axis). Once polar-aligned, you track a star by turning a single axis, which makes long-exposure astrophotography practical. Equatorial heads come in designs such as German equatorial and centre-balanced types; both need counterweights and precise balancing to avoid torque and gear strain.
Choose alt-az if you prioritize visual observing and easy setup. Choose equatorial if you want accurate celestial tracking, precise RA motion, and better results for long exposures with a motor drive.
Telescope Portability
Portability depends on total packed weight, component count, and how the mount and tripod separate. You should measure the heaviest single piece you’re willing to carry; many users cap that around 15–20 kg for one-person transport. Consider mount head weight, tripod bulk, and whether the dovetail and rings let you leave accessories attached.
Look for quick-release saddles and split-tripod legs to speed setup. Smaller alt-az mounts and dedicated travel camera trackers excel when you travel to dark sites; they often run on batteries and fit in a car trunk. Larger equatorial mounts give stability but add carrying and aligning work. Match mount capacity to your telescope’s mass to prevent flex and tracking errors.
Motor Drives and Tracking
Motor drives automate the motion needed to keep objects centered. On an equatorial mount, a single motor on the RA axis compensates for Earth’s rotation and maintains sidereal tracking with minimal field rotation. On alt-az mounts, dual-axis drives or field-derotators are necessary for long exposures because both axes must move together to follow a star.
Pay attention to periodic error, guiding capability, and whether the drive supports autoguiders. Economy drives handle visual tracking and short exposures; precision drives with low periodic error, backlash compensation, and guide ports serve deep-sky imaging. Also check power options—internal batteries, 12V DC, or USB power affect how long you can run a session in the field.
Famous Telescopes and the Evolution of Exploration
You will trace how simple handheld spyglasses became orbital observatories that see infrared and X-rays. The key moments include early 17th-century lens makers, Newton’s mirror solution, and modern arrays and space telescopes that extend your view beyond visible light.
Milestones: From Spyglass to Space Telescopes
Hans Lippershey’s 1608 patent attempt for a handheld spyglass started practical telescopes you could hold to your eye. Galileo improved magnification in 1609, turning a spyglass into an astronomical instrument that let you record the Moon’s craters and sunspots and map constellations more accurately than naked-eye charts.
Isaac Newton solved chromatic aberration in 1668 by using mirrors, giving you reflecting telescopes able to scale much larger than lenses allowed. Over centuries, designs split into refractors for sharp planetary views and reflectors for deep-sky objects. In the 20th and 21st centuries, engineers moved telescopes off Earth—launching the Hubble Space Telescope for optical/UV imaging and later the James Webb Space Telescope for infrared—so you can bypass atmospheric blur.
Historic Observations
When you point a small telescope at Jupiter with Galileo’s design, you can see the four largest moons—Io, Europa, Ganymede, and Callisto—move night to night. Those observations undermined geocentric models and changed star charts and constellation studies you rely on for navigation and amateur observing.
Early telescopes also revealed sunspots and lunar topography that the naked eye could not resolve. Those discoveries shifted astronomy from speculation to measurement. Professional observatories later cataloged deep-sky objects and produced the first reliable star catalogs that you use today for locating nebulae, star clusters, and galaxies.
Modern Innovations
Space observatories now complement ground arrays. Hubble gave you high-resolution optical images; Chandra X-ray Observatory opened a different band, showing high-energy phenomena like supernova remnants and black hole accretion. The James Webb Space Telescope adds infrared sensitivity, revealing early galaxies and dust-shrouded star formation.
On Earth, radio projects such as the Australia Telescope Compact Array and the Australian Square Kilometre Array Pathfinder test technologies that scale to the Square Kilometre Array (SKA). Those arrays use many dishes and signal processing to make detailed maps of neutral hydrogen, pulsars, and deep extragalactic structure. Together, space telescopes and large radio arrays expand your ability to study the universe across wavelengths and time.
Telescope Use and Community
Telescopes connect you to practical tools, local people, and clear choices that match your budget and goals. You’ll find ways to try equipment, learn observing techniques, and decide between simple optics like binoculars and more advanced gear such as CCD cameras and two-lens designs.
Amateur Astronomy and Clubs
Join an astronomy club to get hands-on time with amateur telescopes and mentorship from experienced observers. Clubs usually host star parties where you can compare refractors, reflectors, and compound scopes, and try devices you wouldn’t buy on your own.
Clubs often run workshops on using a CCD camera, aligning mounts, and basic astrophotography. That training speeds your progress far more than solo trial-and-error. You’ll also learn site selection, light-pollution mitigation, and safety when using telescopic gun sights or other optics in mixed-use areas.
Expect a range of members from beginner hobbyists to advanced amateurs who track near-Earth asteroids. Many clubs publish observing lists and maintain loaner gear—so you can test a two-lens telescope or a large reflector before spending money.
Choosing a Telescope
Decide what you want to observe first: planets need good aperture and steady tracking; deep-sky objects need larger mirrors or long-exposure imaging with a CCD camera. For visual observing, aperture and portability matter most; for imaging, mount precision and camera compatibility dominate cost decisions.
Compare refractors and reflectors by weight, maintenance, and cost. Refractors (including two-lens telescope designs) offer crisp views and low upkeep but grow expensive at large apertures. Reflectors give more aperture per dollar but need occasional collimation and a dust-protected tube.
Factor in accessories: eyepiece set, finder scope or telestopic gun sight for quick aiming, and a sturdy mount. If budget is limited, choose a mid-size Dobsonian for visual use or a small refractor on an equatorial mount for entry-level astrophotography.
Binoculars and Telescopic Sights
Start with binoculars to learn star-hopping, wide-field views, and basic deep-sky recognition. A stable tripod and 7×50 or 10×50 binoculars reveal star clusters, the Milky Way structure, and bright nebulae with minimal setup.
Telescopic gun sights and small spotting scopes work for daytime terrestrial viewing and quick lunar or planetary checks. They are compact and fast to aim, but their narrow fields limit deep-sky utility compared with binoculars or telescopes.
Use binoculars as a scouting tool before committing to a telescope setup with a CCD camera or specialized eyepieces. Combining a tripod-mounted binocular and a small two-lens telescope gives you flexible observing and an economical path into imaging and detailed study.
Leave a Reply