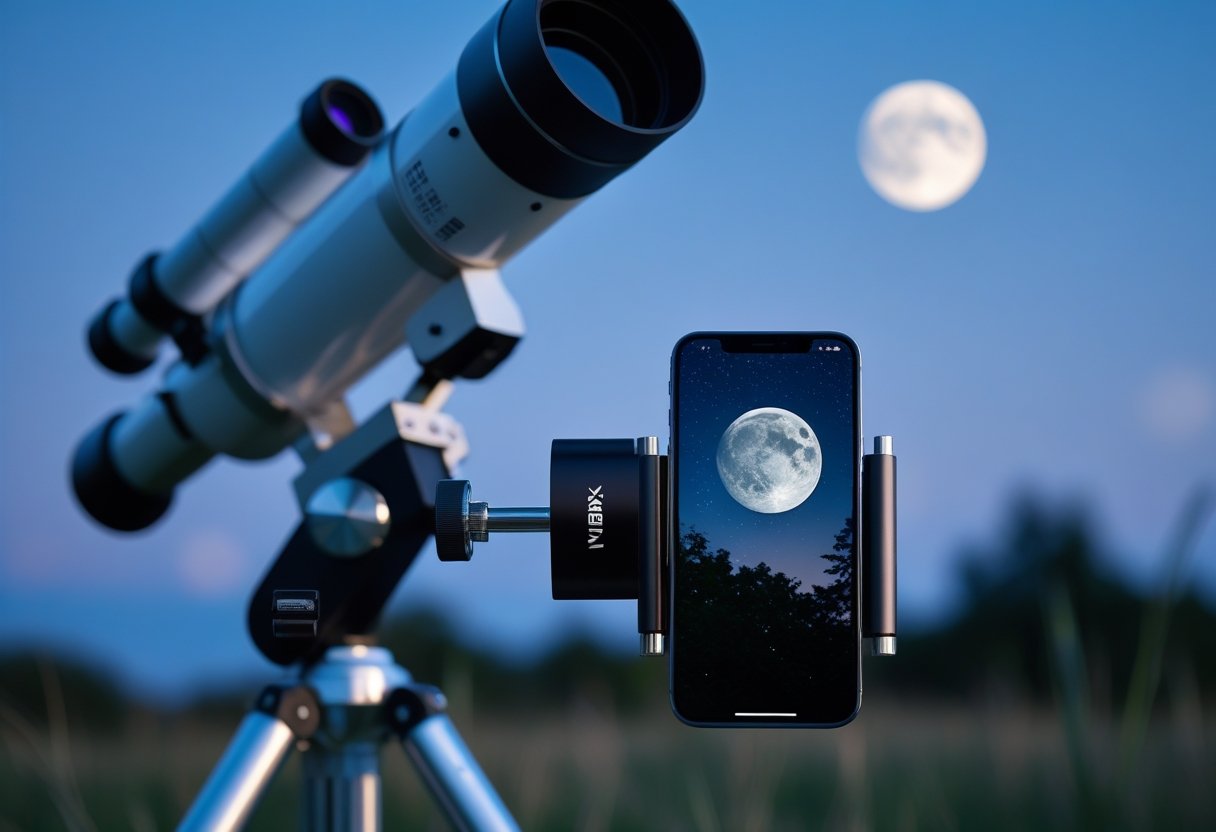
You can capture crisp Moon shots and basic planetary detail using just your phone and the right adapter, without needing an expensive camera or complex setup.
The best adapters give rock-solid alignment, adjustable mounting, and compatibility with most phones and eyepieces so you can start afocal astrophotography quickly.
This guide walks you through how to choose an adapter that fits your telescope and phone, what compatibility and stability matter most, and which models stand out for ease of use and image quality.
Expect clear comparisons of mounting mechanics, useful upgrade options, and simple techniques that help you get sharp, usable astro images fast—whether you aim to photograph the Moon, bright planets, or field targets through a spotting scope.
Choosing the Best Smartphone Adapter for Telescope Photography
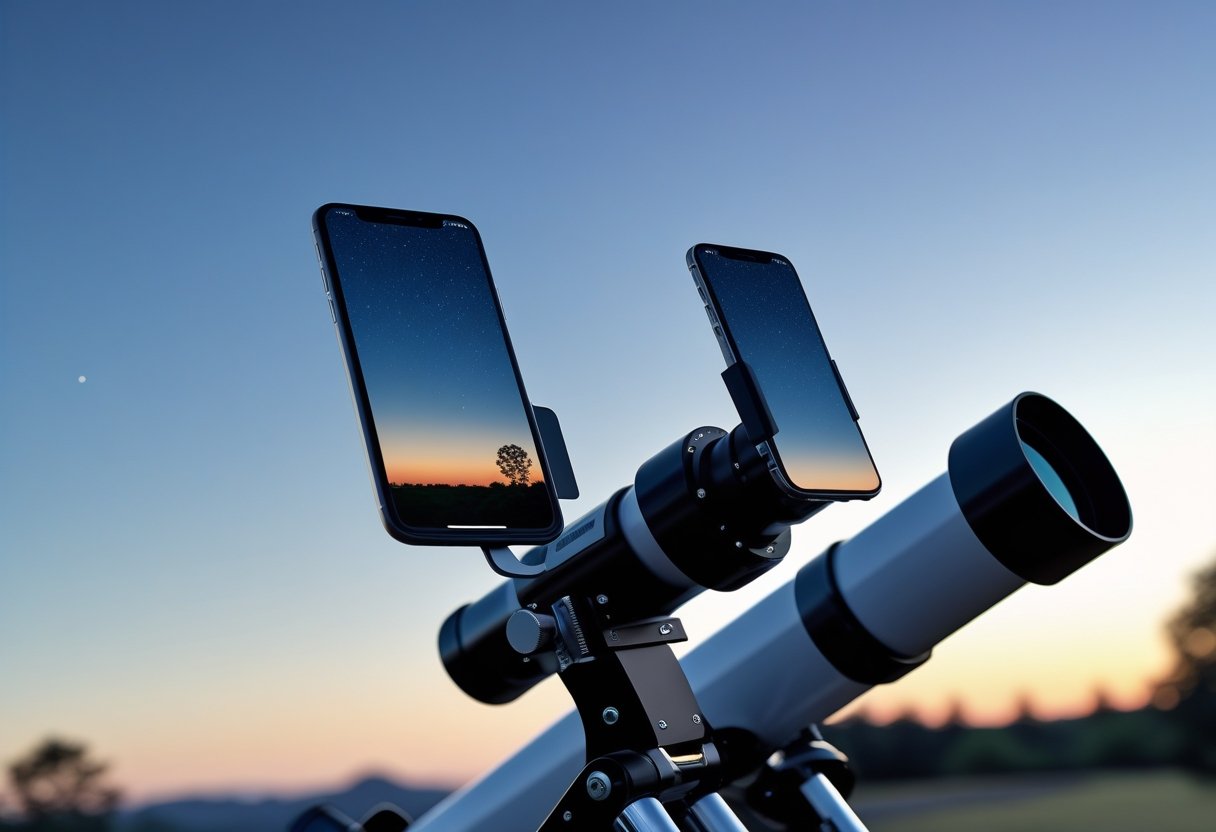
You want a secure, repeatable way to align your phone camera with an eyepiece and capture sharp images of planets, the Moon, or distant birds. Prioritize adapter type, mechanical stability, and compatibility with your phone and eyepiece size.
Understanding Adapter Types
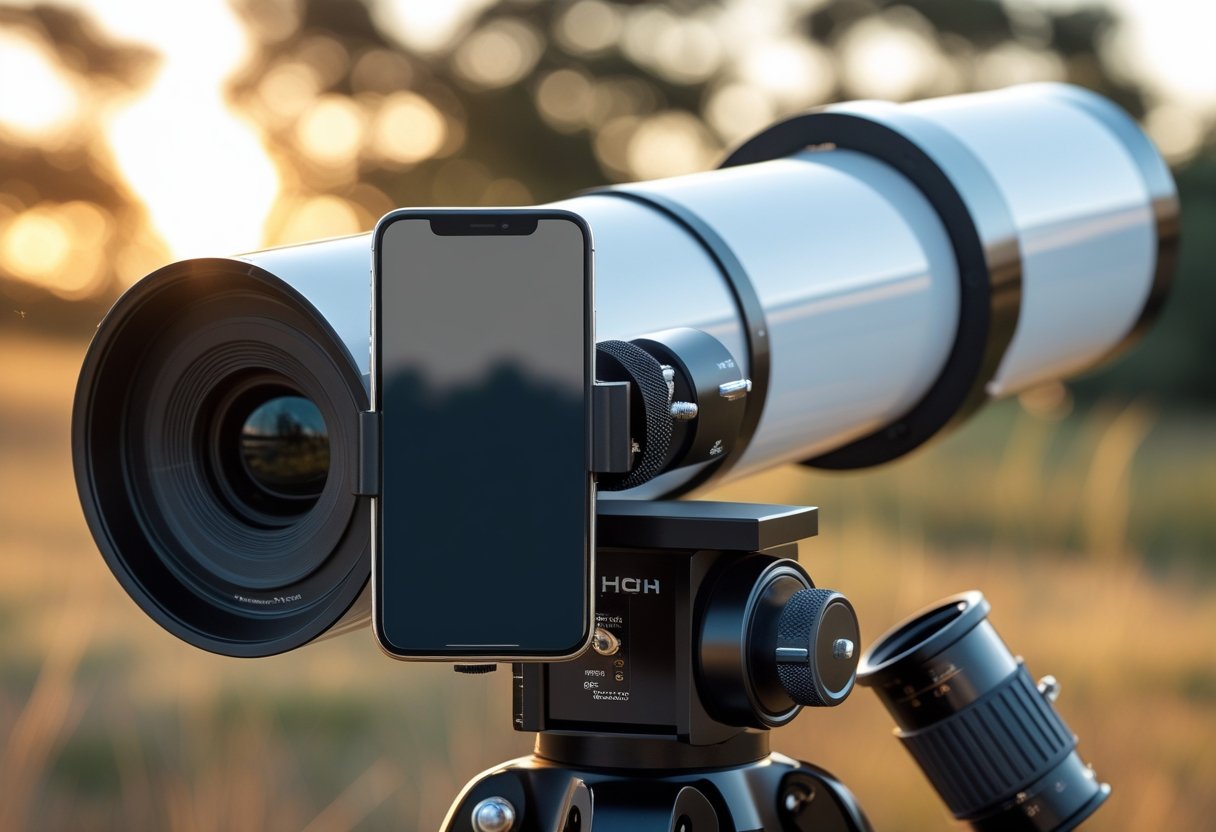
Adapters come in two main styles: clamp-based phone mounts and eyepiece-coupling digiscoping adapters. Clamp-based smartphone adapters attach to your phone and then clamp to the eyepiece; they work well if you change phones often because they grip the device directly. Eyepiece-coupling or phone scope adapters fit over the eyepiece barrel and hold the phone’s camera in a fixed position; they provide better alignment and stability for long-exposure or high-magnification shots.
Universal phone scope digiscoping adapters use adjustable brackets and rotation axes to center the camera over different eyepiece diameters. Dedicated mounts (model-specific) can give the tightest fit but limit cross-device use. Consider the weight of your phone and whether you need lateral or rotational adjustment when choosing a smartphone telescope adapter.
Key Features to Look For
Look for a solid metal or reinforced polymer frame to reduce flex and vibration; even small shifts blur high-magnification images. Choose an adapter with multi-axis adjustment (x/y centering plus rotation) so you can precisely align the phone camera to the eyepiece without tilting the lens. Quick-release or tool-free clamps speed setup and teardown when you’re in the field.
Check eyepiece diameter range and phone width compatibility; a universal smartphone adapter mount that lists both ranges prevents surprises. Padding at contact points protects finishes and improves grip. If you plan astrophotography, prioritize adapters that lock firmly and include a tripod or mount-thread option for added stability. Read reviews to confirm real-world durability and ease of use.
Top Brands and Models
Certain names repeatedly appear in reviews for reliable builds and broad compatibility. The Celestron NexYZ-style adapters earn praise for three-axis adjustability and a metal frame that suits both casual planetary shots and daytime digiscoping. Simpler clamp-style mounts from hobby optics makers offer budget-friendly options for birding and quick lunar snaps.
Higher-end telescope smartphone adapter manufacturers and specialized digiscoping brands offer both universal and dedicated mounts—search product pages for explicit eyepiece diameter limits and phone width specs. For hands-on comparisons and model details, consult a round-up of tested adapters to match a specific telescope or spotting scope to the right phone scope adapter.
Essential Compatibility Considerations

Choosing the right adapter depends on two practical checks: whether your phone’s size and camera position fit the clamp, and whether the adapter secures to your eyepiece without vignetting or wobble.
Device Compatibility
Check your phone’s width and camera placement before buying. Measure across the case; many universal smartphone adapters clamp from about 58 mm to 90 mm, but models differ. If you use a large phone with a rugged case or a quad‑camera array, verify the clamp clears all lenses so the adapter doesn’t block or shadow any camera module.
Look for adjustable mounts with fine lateral and vertical adjustment. A universal phone mount with multiple thumbscrews or a sliding cradle lets you center the camera precisely over the eyepiece. Also confirm the adapter’s padding and grip material to avoid scratching aluminum or glass on premium phones.
If you change phones often, pick a truly universal smartphone digiscoping adapter that supports different thicknesses and off‑center cameras. Brand examples like the SVBONY universal cell phone adapter advertise wide compatibility; still, double‑check the listed phone width range and camera offset.
Eyepiece Compatibility
Measure the eyepiece barrel diameter and the mechanical shape before ordering. Most universal smartphone adapters accept 1.25″ and 2″ eyepieces via rubber jaws or tightening collars, but some slip‑on mounts only fit slimmer barrels. If your scope has a nonstandard eyepiece or an angled finder, ensure the adapter can clamp securely without stressing the focuser.
Think about optical alignment: the adapter should allow micro‑adjustments so the phone lens sits concentric to the eyepiece exit pupil. Poor alignment causes vignetting, soft edges, or field curvature. Adjustable adapters with three‑axis adjustment or the NexYZ‑style multi‑axis clamp make it easier to center the camera.
Finally, consider stability and repeatability. A universal cell phone adapter mount that locks solidly to the eyepiece reduces flex during long exposures or when using tracking mounts. Verify the adapter’s recommended eyepiece types and read compatibility notes for your scope model before buying.
Deep Dive: Standout Smartphone Adapters Reviewed
These adapters focus on secure mounting, precise alignment, and compatibility across eyepieces and phone sizes. Expect differences in build materials, adjustability, and how well they prevent vibration during long exposures.
Celestron NexYZ and NexYZ DX
The Celestron NexYZ clamps your phone with three-axis adjustment for X/Y/Z alignment, letting you center the camera over eyepieces without bending your phone’s body. It fits most phones, cases, and eyepieces—useful if you switch between refractors, reflectors, and spotting scopes.
You get a solid metal frame and plastic clamps. The original NexYZ offers reliable grip; the NexYZ DX adds refined knobs and slightly improved padding for delicate phones.
Best for: precise alignment and repeatable framing when you need to nudge the camera in tiny increments.
Limitations: bulky compared with minimalist mounts, and heavier setups can stress a small telescope’s focuser. Consider using a remote shutter or timed exposure to eliminate handshake.
GOSKY Smartphone Adapter and Adapter Mount
The GOSKY adapter clamps around the eyepiece and uses a telescoping arm to hold your phone, which simplifies initial setup for many users. It’s broadly compatible with eyepiece diameters and both Android and iPhone form factors.
The adapter mount option adds a rotating collar and quick-adjust thumbscrews that speed alignment for planets and the Moon. Materials are mostly reinforced plastic with metal fasteners, keeping cost and weight down.
Best for: value-conscious users who want fast on/off mounting and decent stability for lunar and planetary shots.
Limitations: plastic parts may creep under heavy phones; tight tolerances vary between batches. If you own an eyepiece-rich setup, check fit first or pair with a foam shim for a firmer grip.
See an overview of practical options in this roundup of smartphone telescope adapters.
Tridaptor Universal Digiscoping Adapter
Tridaptor uses a clamp-plus-arm design with a broad, cushioned contact area to protect phones and eyepieces. It emphasizes universality—working with small spotting-scope eyepieces up to large telescope oculars—so you won’t need multiple adapters.
Its stainless steel components resist flex, and the mount offers a wide range of tilt and rotation for composition without disturbing alignment. That makes the Tridaptor a favorite when you switch between terrestrial and celestial targets.
Best for: users who demand durability and compatibility across many optics, including third-party options like LakWar or Eyeskey-style setups.
Limitations: higher price and a slightly longer learning curve for perfect optical axis alignment. If you use mounts like the SVBONY universal cell phone adapter, compare clamp ranges to ensure the Tridaptor covers your largest eyepieces.
Mechanics of Alignment, Mounting, and Stability
This section explains how the adapter physically attaches to your phone and eyepiece, how you fine-tune camera position in three axes, and what steps and features keep images sharp during capture.
Clamping and Mounting Mechanisms
You need a clamping mechanism that grips your phone without pressing buttons or bending the frame. Look for a spring-loaded or screw-tightened phone clamp with rubber pads; these protect finish and reduce slippage. The eyepiece mounting mechanism should accept common diameters (e.g., 1.25″ and 28–60 mm ranges) and use a padded collar or adjustable knob to lock to the eyepiece tube.
Check that the adapter offers repeatable positioning—indexed collars or scale marks speed re-mounting. A lightweight aluminum body plus a reinforced polymer clamp balances durability and weight. If your scope has short eye relief, choose a mount with shallow clamping depth or adjustable spacer to prevent vignetting.
Practical checklist:
- Padded phone clamp and eyepiece collar
- Screw or cam locks with fine tension control
- Eyepiece diameter range that matches your gear
- Scales or stops for repeatable alignment
3-Axis Precision and Adjustment Features
You gain control over X, Y, and Z when the adapter includes three independent adjustment axes. The X and Y knobs let you shift the phone lens laterally and vertically to center the camera over the eyepiece. The Z (focus/distance) or depth adjustment moves the phone closer or farther from the eyepiece to eliminate vignetting and adjust field of view.
Metal 3-axis assemblies—often described as XYZ metal telescope mounts—provide finer, backlash-resistant motion compared with simple plastic pivots. Fasteners should have calibrated knobs or vernier scales so you can make predictable, repeatable micro-adjustments. Locking screws on each axis are essential to hold position after alignment.
When you need to swap phones or eyepieces, three-axis designs with quick-release clamps or coarse/fine knobs let you re-center in seconds. Prioritize adapters that specify travel ranges for each axis so you know they cover your phone camera offset and eyepiece geometry.
Maintaining Image Stability
Image stability starts with a rigid connection between phone, adapter, and eyepiece; any flex translates to blur. Use adapters with a solid aluminum mount and reinforced clamp points to minimize sag under the weight of larger phones. Rubber damping at contact points reduces micro-vibrations from handling.
Mount the telescope on a sturdy tripod or mount with low periodic error; the adapter cannot compensate for an unstable optical tube assembly. Use remote shutter triggers or the phone’s timer to avoid touch-induced shake. For planetary video or short-exposure frames, higher frame rates help; for deep-sky stacking, ensure your scope’s tracking is accurate.
If you still see wobble, add simple fixes: tighten axis locks, place a small foam shim between clamp and phone for added grip, or use an auxiliary support arm that transfers load to the telescope tube rather than the adapter alone.
Helpful Upgrades and Advanced Features
These practical upgrades focus on reducing vibration, improving longevity, and giving you finer control over framing and exposure. Expect to add a Bluetooth shutter, choose materials that match your use, and decide whether precision metal parts or budget plastics suit your needs.
Bluetooth and Remote Shutter Releases
A Bluetooth shutter release removes the final cause of blur: your hands.
You can use a small Bluetooth remote paired to your phone to trigger the camera without touching the screen. This is especially helpful for planetary imaging where even slight shakes ruin detail.
Look for remotes that support both photo and video modes and work with Android and iOS without extra apps. Battery life matters; choose a remote that lists 6–12 months typical use or uses a standard CR2032 cell so you can replace it in the field. Some adapters include built-in remotes or wireless shutter buttons for one-button capture—convenient when you’re wearing gloves.
If you need longer exposures, combine the Bluetooth remote with your phone’s exposure controls or a dedicated astrophotography app. That lets you use timed bursts or interval shooting and avoid touchscreen-induced refocus or lens switching.
Portable and Durable Construction Choices
You’ll use your adapter outdoors, often at night, so portability and toughness matter more than flashy extras.
Choose an adapter that balances weight and strength: aluminum or reinforced composite frames usually strike the best compromise.
Consider how the adapter clamps to eyepieces—rubber pads and wider clamps reduce slippage and protect finishes. Check the total packed size and whether it fits in your carry case; compact models with fold-flat designs save space. If you travel by air, lighter options under ~400 g reduce luggage bulk.
Weather resistance pays off: anodized metal resists scratches and corrosion, while sealed knobs keep grit out of adjustment threads. Also inspect the phone clamp: spring-loaded sliders and wide jaw ranges (55–90 mm) means you can use thick cases without removing them.
Plastic vs. Metal Adapter Design
Plastic adapters cost less and weigh less, but metal adapters deliver repeatable alignment and better vibration damping.
If you want consistent framing and precise 3-axis adjustment, a metal smartphone telescope adapter camera mount with machined knobs will hold position as you change targets.
Plastic works for casual moon shots and birding where rapid setup is key. Expect more flex at higher magnification and a greater chance of slipping under load. Metal designs—aluminum or zinc alloy—resist flex, support heavier phones, and accept fine threads for micro-adjustment. That matters when you use eyepieces with short eye relief or high magnification.
When picking between them, match the material to your workflow. If you upgrade your rig later (better optics, larger phone), plan for a metal adapter. If you mostly need a cheap, lightweight bridge to try digiscoping, a well-built plastic model can serve you well.
Getting the Most from Smartphone Astrophotography
You can capture sharper, more detailed images by locking your phone steady, aligning the camera precisely with the eyepiece, and using controlled exposures. Focus on stable mounts, precise centering, and repeatable workflow steps to avoid wasted sessions.
Tips for Crisp Night Sky Photos
Use a solid adapter that centers your phone over the eyepiece to prevent vignetting and misalignment. Tighten clamps and confirm the camera lens sits directly over the eyepiece’s optical axis before you begin.
Reduce movement: attach the telescope to a tracking mount or use very short exposures with many frames to stack later. For the Moon and planets, shoot short video clips (30–120s) and stack the best frames. For bright objects, lower ISO to 100–400 to keep noise down.
Control focus manually where possible. Use tap-to-focus or manual-focus controls in third‑party apps to lock focus and then avoid refocusing between shots. Shoot in RAW if your phone supports it to retain detail for post-processing.
Optimizing Setup Workflow
Set up your rig before twilight: mount the phone, rough-align the eyepiece, and level the tripod. Mark phone cradle positions with tape once you find the sweet spot so you can reattach quickly later.
Use a checklist: power on mount, polar-align or enable tracking, attach adapter, center target in eyepiece, start camera app, set exposure settings, record test clip. Repeatable steps reduce frustration and let you capture brief seeing windows.
Keep a small kit bag with spare batteries, a lens-cleaning cloth, and an Allen key for adapter adjustments. If you switch phones often, choose a universal adapter or keep adjustable shims to speed retooling between devices.
Recommended Apps and Accessories
Use an app that offers manual exposure, ISO, shutter speed, and RAW capture. Examples include NightCap, ProCam, or Camera FV‑5 on Android for precise control and long exposures.
For stacking and processing, use RegiStax, Autostakkert!, or mobile apps like Snapseed for basic edits. A steady tripod, a good universal smartphone adapter, and a small equatorial tracker make the biggest difference in image quality.
Bring a remote shutter or use the app’s timer to eliminate touch vibration. Consider a Barlow lens for higher effective focal length on planets, and a neutral-density or Moon filter to avoid blown highlights when imaging the lunar disk.
Leave a Reply