You’ve heard the advice: strength training makes you a better cyclist. Stronger legs, more power, better endurance, fewer injuries.
So you start squatting. Deadlifting. Doing lunges until your legs burn.
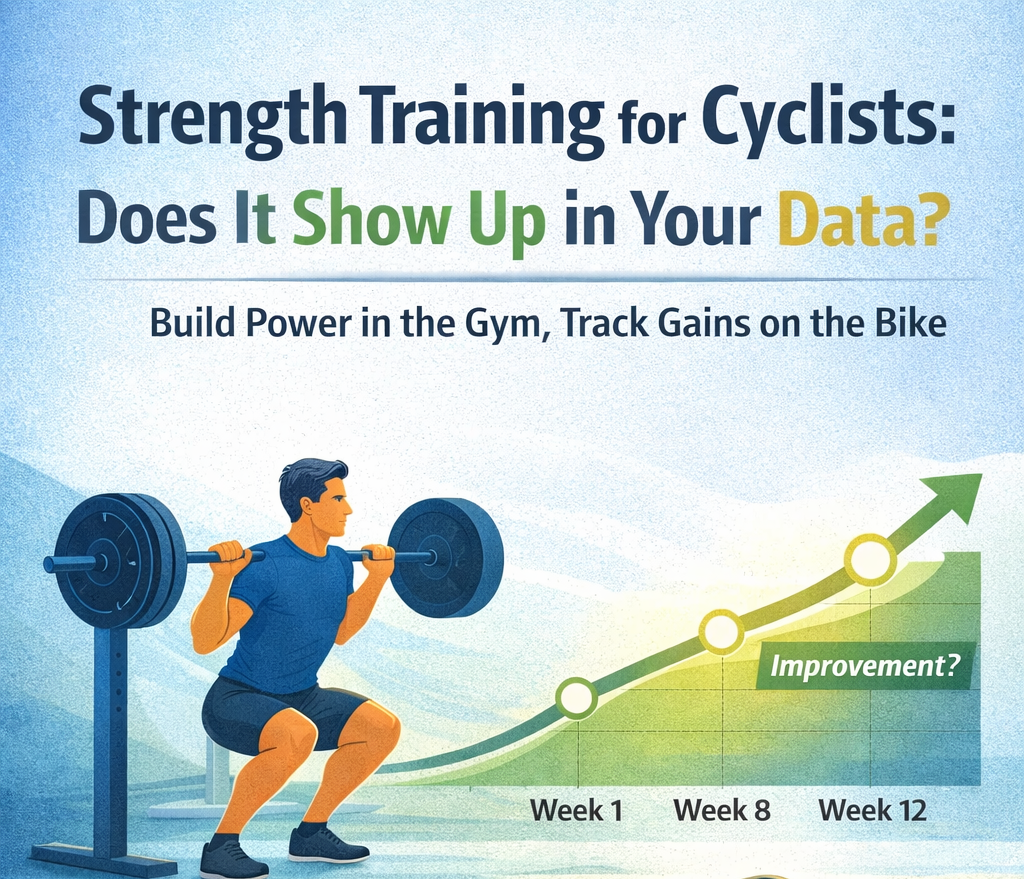
Six weeks later, you’re wondering: is any of this actually helping my cycling?
Your weight might be up slightly (muscle mass). Your legs feel more solid. But when you look at your ride data, nothing seems dramatically different. Maybe your average speed increased a little? Or maybe that was just favorable wind?
This is the frustrating reality of strength training for endurance athletes. The gym doesn’t give you immediate, measurable cycling metrics. You can’t calculate an “efficiency factor” for your squat.
But strength training does show up in your cycling data – if you know where to look, and if you’re patient enough to let the adaptations develop.
This guide explains exactly what metrics should change, when to expect changes, and which exercises deliver the most transfer to the bike.
What Science Says About Strength Training for Cyclists
Research consistently shows that adding strength training to endurance programs improves cycling performance. Here’s what the data demonstrates:
Key findings from peer-reviewed studies:
| Outcome | Typical Improvement | Timeline |
| Cycling economy (efficiency) | 3-5% | 8-12 weeks |
| Time to exhaustion | 12-33% | 8-16 weeks |
| Short-term power (sprints) | 3-10% | 6-12 weeks |
| 40 km time trial performance | 2-4% | 12+ weeks |
| Delayed fatigue onset | Significant | 8-12 weeks |
Why it works:
- Improved neuromuscular efficiency: Your muscles activate more motor units per contraction, generating more force with the same perceived effort.
- Increased muscle fiber recruitment: Strength training activates type II (fast-twitch) fibers that pure endurance training neglects.
- Greater force per pedal stroke: Higher peak force means you can maintain the same speed at lower cadence, or higher speed at the same cadence.
- Delayed fatigue: Stronger muscles operate at a lower percentage of maximum capacity, postponing exhaustion.
- Structural resilience: Stronger connective tissues reduce injury risk, enabling more consistent training.
The challenge: these adaptations don’t appear instantly in your ride data. Understanding the timeline prevents premature frustration.
Where Strength Gains Show Up in Cycling Data
Primary Indicators (Most Reliable)
1. Efficiency Factor on Climbs
Climbing is where raw strength matters most. Each pedal stroke fights gravity directly – there’s no coasting, no momentum assistance.
What to track: Compare your Efficiency Factor (speed ÷ HR) on similar climbs over time.
Expected change: After 8-12 weeks of consistent strength training, you should see:
- Same HR producing higher climbing speed, OR
- Same climbing speed at lower HR
2. VAM (Climbing Rate) Improvement
VAM measures meters climbed per hour – a pure output metric less affected by route variations.
What to track: Your VAM on similar gradient climbs.
Expected change: 5-15% VAM improvement on sustained climbs after a strength training block.
3. Power Sustainability (Late-Ride Performance)
Strength training’s most underrated benefit: maintaining power output when fatigued.
What to track: Compare your efficiency factor in the final third of long rides versus the first third.
Expected change: Smaller efficiency drop-off as rides progress. If you previously saw 15% efficiency decline over 3-hour rides, strength training might reduce that to 8-10%.
Secondary Indicators (Supporting Evidence)
4. Sprint and Short Effort Capacity
Town sign sprints, short punchy climbs, accelerations out of corners – these improve noticeably with strength training.
What to track: Max speed achieved during ride, max HR segments, subjective sprint quality.
Expected change: Higher peak speeds, faster accelerations, less “dead leg” feeling during hard efforts.
5. Cadence Flexibility
Stronger cyclists can maintain power across a wider cadence range. You’ll feel comfortable grinding at 65 RPM or spinning at 100 RPM.
What to track: Performance consistency across different cadence efforts.
Coming in a future version: Cadence-specific efficiency analysis to identify your optimal pedaling rate and how strength training affects cadence flexibility.
6. Reduced Perceived Effort
This is subjective but meaningful. The same ride that felt “hard” might feel “moderate” after strength adaptation.
What to track: Compare your internal rating of perceived exertion (RPE) against objective metrics like HR and speed.
Timeline: When to Expect Data Changes
Patience is essential. Here’s a realistic timeline:
| Phase | Weeks | What’s Happening | Visible in Data? |
| Neural adaptation | 1-4 | Brain learns to recruit more muscle fibers | Minimal – strength gains in gym, not on bike |
| Early transfer | 4-8 | Neuromuscular patterns begin transferring to cycling motion | Subtle – possible sprint improvements |
| Meaningful transfer | 8-12 | Cycling-specific strength adaptations develop | Yes – efficiency and climbing improvements |
| Full integration | 12-16+ | Strength fully integrated into endurance performance | Clear – measurable across multiple metrics |
Critical insight: Many cyclists abandon strength training at weeks 4-6 because they don’t see cycling improvements yet. This is exactly when neural adaptations are primed to transfer – quitting now wastes the foundational work.
Recommendation: Commit to 12 weeks minimum before evaluating whether strength training “works” for your cycling.
The Essential Exercises for Cycling Performance
Not all strength exercises transfer equally to cycling. These movements offer the best return on investment.
Tier 1: High-Transfer Compound Movements
1. Back Squat
The foundational cycling strength exercise.
Why it matters: Develops quadriceps, glutes, and core stability through a movement pattern similar to the pedal stroke’s power phase.
Cycling transfer: Improved force production on climbs and accelerations.
How to perform:
- Bar positioned on upper back, feet shoulder-width apart
- Descend by pushing hips back and bending knees
- Lower until thighs are parallel to floor (or slightly below)
- Drive through heels to stand
- Maintain neutral spine throughout
Cyclist-specific prescription:
- 3-4 sets of 6-8 reps
- Moderate-heavy weight (RPE 7-8)
- 2-3 minutes rest between sets
- Focus on controlled descent, explosive ascent
2. Romanian Deadlift (RDL)
Targets the posterior chain that cyclists notoriously neglect.
Why it matters: Strengthens hamstrings, glutes, and lower back – muscles that provide power during the pedal stroke’s pull-through phase and stabilize your pelvis on the saddle.
Cycling transfer: Better hip extension power, reduced lower back fatigue on long rides, improved seated climbing.
How to perform:
- Hold barbell or dumbbells at hip level
- Push hips backward while maintaining slight knee bend
- Lower weight along legs until hamstring stretch is felt
- Keep back flat, shoulders retracted
- Drive hips forward to return to standing
Cyclist-specific prescription:
- 3 sets of 8-10 reps
- Moderate weight with strict form
- Focus on hamstring engagement, not lower back
3. Bulgarian Split Squat
Single-leg strength that directly mimics pedaling.
Why it matters: Cycling is fundamentally a single-leg activity. This exercise builds unilateral strength, corrects imbalances, and improves stability.
Cycling transfer: More even power between legs, improved pedaling efficiency, better bike handling.
How to perform:
- Rear foot elevated on bench behind you
- Front foot far enough forward that knee stays behind toes
- Lower until rear knee nearly touches ground
- Drive through front heel to stand
- Keep torso upright throughout
Cyclist-specific prescription:
- 3 sets of 8-10 reps per leg
- Start with bodyweight, progress to dumbbells
- Address weaker leg first
Tier 2: Stability and Injury Prevention
4. Single-Leg Glute Bridge
Activates glutes that often “go to sleep” in cyclists.
Why it matters: Cyclists frequently develop quad-dominant movement patterns while glutes remain underactive. This creates inefficiency and injury risk.
Cycling transfer: Better hip extension, reduced knee strain, improved power transfer.
How to perform:
- Lie on back, one knee bent with foot flat on floor
- Extend opposite leg straight
- Drive through grounded foot to lift hips
- Squeeze glute at top, hold 2 seconds
- Lower with control
Cyclist-specific prescription:
- 3 sets of 12-15 reps per leg
- Bodyweight or light dumbbell on hip
- Focus on glute engagement, not hamstring/lower back
5. Plank Variations
Core stability that prevents energy leaks.
Why it matters: A weak core allows your pelvis to rock and your torso to sway – wasted energy that doesn’t reach the pedals.
Cycling transfer: More efficient power transfer, reduced fatigue, better bike control.
Variations to include:
- Standard plank (30-60 seconds)
- Side plank (30-45 seconds each side)
- Dead bug (10-12 reps, controlled)
- Pallof press (10-12 reps each side)
Cyclist-specific prescription:
- Include 5-10 minutes of core work after each strength session
- Focus on anti-rotation and stability, not crunching movements
6. Step-Ups
Functional single-leg power development.
Why it matters: Mimics the cycling motion more directly than squats – driving down through one leg to elevate your body.
Cycling transfer: Improved pedal stroke power, better low-cadence climbing.
How to perform:
- Stand facing a box or bench (knee height or slightly lower)
- Place one foot fully on the box
- Drive through that foot to stand on box
- Lower with control, same leg doing the work
- Minimize push-off from ground foot
Cyclist-specific prescription:
- 3 sets of 10-12 reps per leg
- Hold dumbbells for progression
- Higher box = more glute emphasis; lower box = more quad emphasis
Sample Weekly Strength Program for Cyclists
Frequency: 2 sessions per week during base/build phase; 1 session during race season
Session A: Lower Body Power
| Exercise | Sets | Reps | Rest |
| Back Squat | 4 | 6-8 | 2-3 min |
| Romanian Deadlift | 3 | 8-10 | 2 min |
| Bulgarian Split Squat | 3 | 8-10/leg | 90 sec |
| Calf Raises | 3 | 12-15 | 60 sec |
| Plank variations | 3 | 30-45 sec | 60 sec |
Session B: Stability and Single-Leg Focus
| Exercise | Sets | Reps | Rest |
| Step-Ups | 3 | 10-12/leg | 90 sec |
| Single-Leg RDL | 3 | 10/leg | 90 sec |
| Goblet Squat | 3 | 10-12 | 90 sec |
| Single-Leg Glute Bridge | 3 | 12-15/leg | 60 sec |
| Dead Bug | 3 | 10-12 | 60 sec |
| Side Plank | 2 | 30-40 sec/side | 60 sec |
Timing considerations:
- Separate strength and hard cycling sessions by 24+ hours when possible
- If same-day training is necessary: cycling first, strength after
- Reduce strength volume 50% during high-intensity cycling weeks
How to Track Strength Training Impact
Step 1: Establish Cycling Baselines
Before starting strength training, capture baseline metrics:
- Efficiency Factor on your regular routes
- VAM on your benchmark climb
- Late-ride efficiency compared to early-ride
- Subjective RPE for standard efforts
Upload your baseline rides to the Apple Health Cycling Analyzer to document your starting point.
Step 2: Track Gym Progress Separately
Your gym metrics will improve faster than cycling metrics. Track:
- Squat/deadlift weight for the same rep count
- Single-leg exercise stability and load
- Core hold durations
This confirms strength is building, even before cycling transfer appears.
Step 3: Re-Evaluate Cycling Data at Week 8 and 12
Compare against your baselines:
| Metric | Baseline | Week 8 | Week 12 |
| Climbing EF | 0.063 | 0.065 | 0.069 |
| VAM (benchmark climb) | 420 m/h | 440 m/h | 465 m/h |
| Late-ride EF drop | -18% | -14% | -10% |
Upload your rides to the analyzer to compare efficiency trends across the training block.
Coming in a future version: Training load integration that correlates strength training sessions with subsequent ride quality and recovery patterns.
Step 4: Look for Subjective Changes
Data doesn’t capture everything. Note:
- Do climbs feel easier at the same speed?
- Can you respond to accelerations more easily?
- Is late-ride fatigue less severe?
- Do you feel more stable on the bike?
These qualitative improvements often precede measurable data changes.
Common Mistakes That Sabotage Results
Mistake 1: Too Much Volume, Not Enough Intensity
The problem: Cyclists often approach strength training like endurance training – lots of reps, light weight, feeling the burn.
Why it fails: Muscular endurance isn’t the limiter. You need neuromuscular force production, which requires heavier loads.
Fix: Lift heavier for fewer reps (6-10 range). If you can easily do 15+ reps, increase weight.
Mistake 2: Strength Training Before Key Rides
The problem: Doing squats the day before your hard interval session.
Why it fails: Fatigued legs can’t produce quality cycling efforts. You compromise both workouts.
Fix: Schedule strength 24-48 hours before easy rides, not before hard sessions.
Mistake 3: Abandoning Strength During Race Season
The problem: Stopping strength training entirely to “focus on cycling.”
Why it fails: Strength adaptations reverse within 4-6 weeks. You lose what you built.
Fix: Maintain with 1 session per week at reduced volume during competition periods.
Mistake 4: Expecting Immediate Cycling Improvements
The problem: Checking your ride data after 3 weeks and seeing no change.
Why it fails: Neural adaptations must occur before cycling transfer. This takes 8-12 weeks.
Fix: Commit to 12-week minimum evaluation window. Trust the process.
Mistake 5: Ignoring Single-Leg Work
The problem: Only doing bilateral exercises (regular squats, leg press).
Why it fails: Cycling is a single-leg activity. Bilateral training can mask and reinforce imbalances.
Fix: Include Bulgarian split squats, step-ups, and single-leg RDLs in every session.
The Data-Driven Bottom Line
Strength training absolutely shows up in your cycling data – but not immediately, and not where most cyclists expect.
Where to look:
✓ Climbing efficiency (EF and VAM on similar grades)
✓ Late-ride performance maintenance
✓ Sprint and acceleration capacity
✓ Overall efficiency trend over 8-12 weeks
Where NOT to look:
✗ Immediate post-gym ride performance (will be worse)
✗ Average speed on varied routes (too many confounders)
✗ Single-ride comparisons (noise overwhelms signal)
The cyclists who benefit most from strength training are those who commit to the timeline, track the right metrics, and resist evaluating too early.
Your Apple Watch captures the data. The analyzer reveals the patterns. Your job is to put in the work – on the bike and in the gym – and let the adaptation timeline unfold.
Start Tracking Your Strength Training Impact
Ready to see if your gym work is transferring to the bike?
- Export your current Apple Health data as a baseline
- Run the Apple Health Cycling Analyzer to document starting efficiency
- Complete 8-12 weeks of consistent strength training
- Re-analyze your rides and compare efficiency trends
- Adjust your program based on data, not guesswork
Your legs are getting stronger. Now you’ll have the data to prove it.
Leave a Reply