
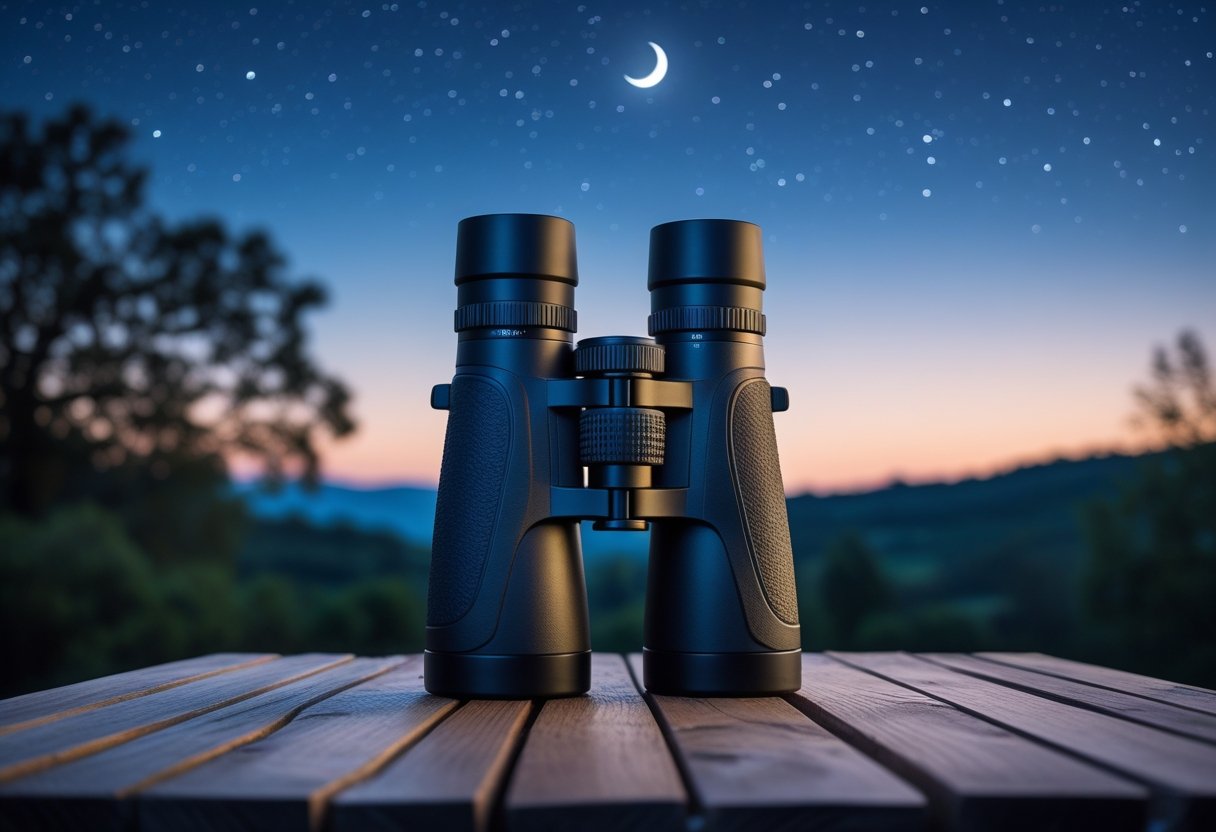
Want to dive into stargazing without the fuss of a telescope? Binoculars for beginners give you wide fields, simple setup, and bright views of star clusters, the Milky Way, and moon detail. Choose a 7x to 10x magnification with a 35–50mm objective for the best balance of hand-held stability, light gathering, and ease of use.
You’ll find practical buying guidance on prisms, aperture, eye relief, and tripod adaptability to match your observing style and budget. The article also highlights top beginner models, tips to get the most from your first observing sessions, and straightforward care advice so your astronomy binoculars last for seasons of stargazing.
Why Choose Binoculars for Astronomy?
Binoculars give you fast, comfortable views of star clusters, nebulae, and the Moon with minimal setup. They combine low cost, simple handling, and a wide field of view that helps you learn the sky faster and enjoy more targets per session.
Benefits Over Telescopes
You can start observing with binoculars for a fraction of the price of a telescope. Good 7×50 or 10×50 handheld binoculars cost far less than an entry-level Dobsonian yet let you see the Moon’s craters, the Pleiades, and brighter galaxies.
Using both eyes increases contrast and depth perception, so faint Milky Way star clouds and open clusters pop more readily than through a single eyepiece. Binoculars also show objects right-side up, which saves time when locating targets with a star map.
Maintenance and learning curve are simpler. There’s no collimation or complicated eyepiece selection. That lets you spend more time stargazing and less time tinkering with equipment.
Portability and Ease of Use
Grab-and-go usability makes binocular astronomy ideal for spontaneous sessions. A typical 7×50 pair fits in a small bag and works straight from your car or backyard, so you won’t miss brief clear patches or a short window between clouds.
Handheld binoculars let you scan large sky areas without a mount, and they’re light enough for long viewing sessions. If steadiness becomes an issue, a simple tripod adapter or monopod fixes the problem quickly without the bulk of a telescope mount.
You won’t need power, heavy cases, or complex alignment routines. That lowers the barrier for beginners and makes it easier to involve friends or family in stargazing.
Wide Field of View for Beginners
Binoculars deliver a wide field of view that helps you learn constellations and star-hopping techniques. With 7× or 10× glasses you can sweep the Milky Way and locate extended objects like the Andromeda Galaxy or the Great Cluster in Hercules more easily than with a narrow-field telescope.
The larger apparent sky area means you often capture multiple targets in one frame—pairs of galaxies, star clusters beside nebulae—so each outing yields more discoveries. That keeps you motivated while you build observing skills.
Wide-field binoculars also make it easier to track moving objects like the International Space Station or bright satellites, because you can follow them with less precise aiming. For beginning observers, that quick reward is a powerful motivator to keep looking up.
Key Features to Look for in Astronomy Binoculars
Choose binoculars that balance bright images, wide sky coverage, and stable handling. Focus on how much light the objectives gather, how wide the view is, and whether the optics and prisms preserve contrast and sharpness for faint stars and star clusters.
Magnification and Field of View
You want magnification that reveals detail without making the view shaky or too narrow. For beginners, 7x–15x is the practical range: 7–10x gives a very wide field for star-hopping and easy hand-holding; 15x or higher improves detail but usually needs a tripod.
Field of view (FOV) is measured in degrees or feet at 1000 yards and determines how much sky you see at once. Larger FOV (4°–7° or ~200–350 ft/1000 yd) helps you frame star clusters and constellations; high-magnification narrow-FOV models (e.g., 20x) will show less sky and require steadier mounting.
Pair magnification and FOV to match targets: choose wider FOV for Milky Way and star fields, higher magnification for planetary detail and globular clusters. Consider eye relief too if you wear glasses.
Aperture and Objective Lens Diameter
Objective diameter dictates light-gathering: larger lenses (50–70 mm) collect more photons and reveal fainter stars. For beginners, 40–70 mm objectives hit the sweet spot—40 mm keeps weight low, 70 mm maximizes faint-object performance but needs a tripod for long sessions.
Aperture works with magnification to set exit pupil (objective ÷ magnification). Aim for an exit pupil of 5–7 mm for dark-sky use; for example, 10×50 gives a 5 mm exit pupil. Larger exit pupils help in dim conditions; very large exit pupils waste light if your eye’s pupil can’t dilate that wide.
Check build and weight trade-offs. Bigger objective lenses typically require a more robust chassis and may use Porro or roof prisms; plan for a tripod adapter if you choose >50 mm optics.
Prism Types: Porro vs Roof
Prism design affects image shape, weight, and cost. Porro prisms produce wider, often more three-dimensional views and tend to be less expensive per optical quality—popular in astronomy binoculars where brightness and image depth matter.
Roof prisms make compact, straight-barrel designs that are easier to mount and store. High-end roof-prism binoculars require more precise alignment and often use phase-correction coatings to match Porro performance.
Look for prism glass type: BaK-4 prisms give better edge sharpness and contrast than BK-7, especially near the field edges. If you prioritize maximum light and contrast for deep-sky, prefer BaK-4 Porro prisms; if you need portability and compactness, choose a well-corrected roof-prism model with quality coatings.
Optical Coatings and Image Quality
Coatings control transmission, contrast, and color fidelity. Fully multi-coated optics are the standard to aim for: every air-to-glass surface has multiple anti-reflective layers, which increases light throughput and reduces ghosting.
Single- or partially-coated lenses lose significant light and raise internal reflections. Multi-coated and fully multi-coated lenses improve sharpness and faint-star visibility—important when you hunt for nebulae or faint galaxies.
Also check for phase-correction coatings on roof-prism models and mirror/metallic coatings on prisms. These treatments restore contrast and fine detail. Finally, confirm the binoculars use quality glass throughout (BaK-4 over BK-7 where possible) and that the build is waterproof/fogproof to protect coatings during cold, damp observing nights.
Choosing the Best Binoculars for Beginners
Focus on a balance of magnification, light-gathering, and physical comfort so you can hold steady, find targets quickly, and enjoy long viewing sessions without eye strain.
Recommended Specifications for Starters
Pick binoculars in the 7×50 to 10×50 range for the best mix of brightness and hand-holdability.
- 7×50: large 50mm objectives and 7× magnification yield a 7–8 mm exit pupil, very bright views and easier handheld stability.
- 10×50: a common beginner choice that gives more detail but may need a tripod for steady views.
Look for fully multi-coated optics and BaK-4 prisms for better contrast and edge sharpness.
Check field of view numbers (degrees or feet at 1000 yd) — wider FOV helps you sweep star fields and find objects.
A tripod adapter or tripod-mounted option matters if you choose magnifications above 10×.
Prioritize a reliable center focus knob and a smooth diopter adjustment on one eyepiece so you can lock sharpness quickly.
Interpupillary distance should adjust easily to fit your eyes; many beginner models list the range in millimeters.
Comfort and Eye Relief Considerations
Eye relief should match your needs: aim for ≥15mm if you wear glasses so the exit pupils align with your eyes.
Adjustable eyecups (twist or fold) let you get correct eye position whether you use glasses or not.
Exit pupil equals objective diameter divided by magnification; larger exit pupils (4–7 mm) make views brighter under dark skies and reduce the need for precise eye placement.
Pay attention to eyepiece design — aspherical eyepieces or wider Huygens-style eyepieces reduce edge distortion and keep comfortable edges in view.
Weight and ergonomics matter: lighter models around 700–1000 g are easier to hold for minutes at a time.
Test the interpupillary distance range and make sure the binoculars feel balanced in your hands; a poorly balanced pair increases fatigue and encourages use of a tripod.
Top Picks: Best Astronomy Binoculars for Beginners
These picks emphasize light gathering, usable magnification, and practical features you’ll actually use at a dark-sky session: tripod compatibility, comfortable eye relief for glasses, and coatings that boost contrast on faint star clusters.
Celestron Cometron 7×50
The Cometron 7×50 delivers a very wide field of view and large 50 mm objective lenses, which makes it easy to sweep star fields and locate comets or the Milky Way. At 7x magnification you get bright, steady views without needing a tripod, so handheld observing and quick sky scans are simple and comfortable.
You’ll find these are Porro-prism binoculars with a forgiving eye box and typically good eye relief for glasses. They’re lightweight enough for long sessions and often sold at budget-friendly prices, so they make an excellent first stargazing binocular. Expect basic coatings and a durable housing—good for learning constellations and lunar detail but not for very high-magnification planetary work.
Celestron Skymaster 15×70
The Skymaster 15×70 balances significant light collection with manageable magnification for serious beginners. The 70 mm objectives gather enough light to reveal star clusters, the Milky Way, and brighter nebulae while 15x magnification can begin to show Jupiter’s cloud bands and some satellites.
These are classic Porro-prism stargazing binoculars that pair best with a tripod—handheld use causes fatigue and shake at 15x. Look for models with a tripod adapter, multicoated optics, and at least modest eye relief if you wear glasses. The extra weight trades portability for performance: you get brighter, higher-resolution views than 7x50s, but you must plan for a mount or stable platform.
Celestron Skymaster 20×80
The Skymaster 20×80 pushes you into near-telescope territory: 80 mm objectives plus 20x magnification let you resolve more lunar detail and pick out brighter deep-sky objects at higher power. Bring a sturdy tripod and possibly a slow-motion mount to track objects smoothly at 20x.
These Porro-prism binoculars can be heavy and demand steady support, but their larger prisms and optics improve contrast and light throughput. Eye relief varies—check specs if you wear glasses. You’ll get more reach than 15×70 units, but with increased weight and narrow fields of view; use them when you want greater detail and you already plan to mount your binoculars.
Other Great Beginner Models
If you want alternatives, compare roof-prism and Porro-prism designs: roof prisms are more compact and sealed, often offering waterproofing and better mechanical alignment, while Porro prisms typically give wider fields at lower cost. Models to consider include mid-range 10x50s for a balance of magnification and portability, and 8–12x compact waterproof binoculars for travel and casual stargazing.
Prioritize: objective diameter (50–80 mm), magnification (7x–20x), tripod adapter availability, multicoated optics, and at least 12 mm eye relief if you wear glasses. For beginner “best astronomy binoculars,” choose a pair you’ll actually carry to dark sites—comfort and mount compatibility matter more than chasing the highest magnification.
Using Your Astronomy Binoculars for Maximum Enjoyment
You’ll get the best views when you control shake, know which sky targets show the most detail through binoculars, and use apps that point and time observations for you. Small choices—mounting, target selection, and a good app—transform casual glances into sustained, rewarding sessions.
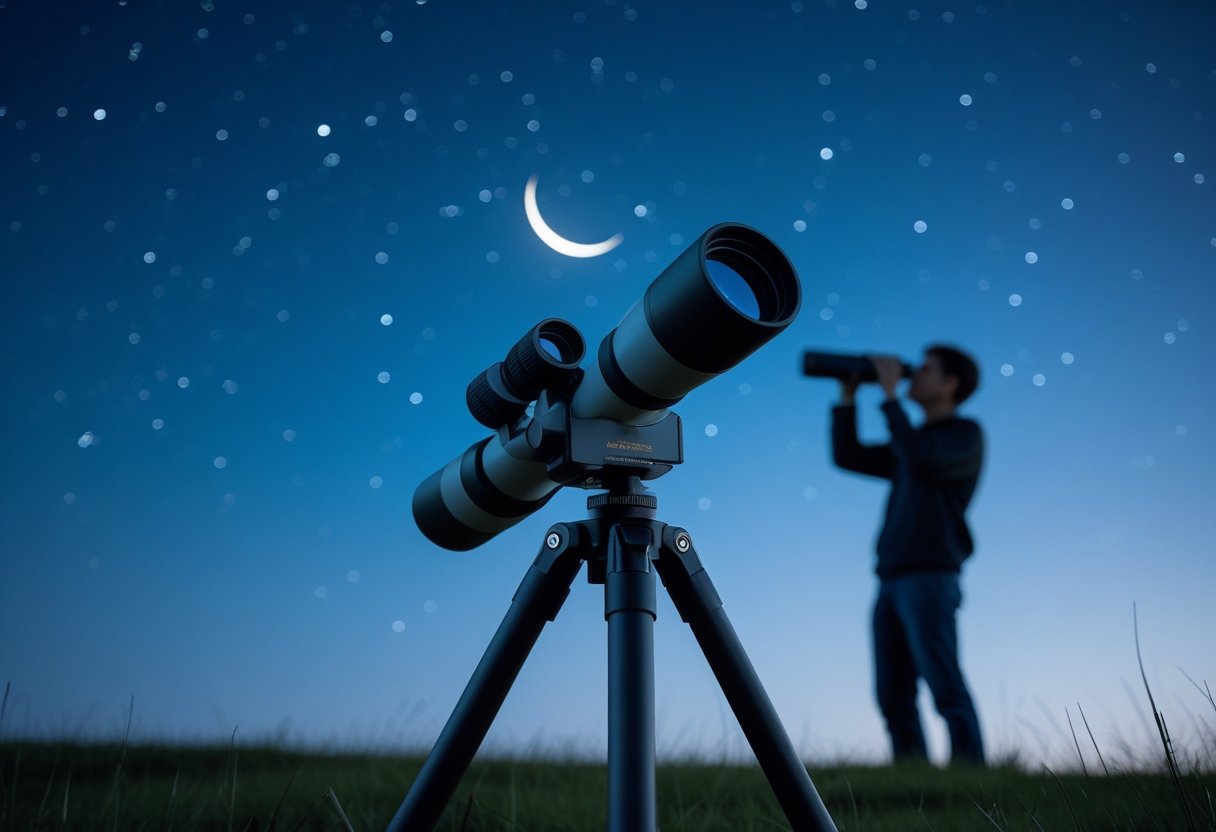
Stabilizing Your View: Mounts and Tripods
Hand-holding works for 7× or 8× binoculars, but anything at 10× or higher benefits from a stable platform to reduce fatigue and image blur. Fit a tripod adapter to binoculars that have a central hinge or a threaded tripod socket; many models include an adapter rod that screws into a standard 1/4″-20 tripod mount.
Choose a sturdy tripod rated for at least 2–3 kg if you use 10×50 or heavier binoculars (20×80 needs an even heavier mount). Aluminum tripods balance weight and stability; carbon fiber saves weight for travel.
Use a pan-tilt head for smooth tracking or a ball head for quick framing. Add a small foam pad or strap to dampen vibration, and use a remote shutter release or timer if you’re attaching a camera for digiscoping.
If you don’t have a tripod, brace against a wall, use a beanbag on a fence post, or make a simple monopod from a walking stick to steady the view during meteor showers or long observing stints.
Top Targets in the Night Sky
Start with objects that show well in binoculars: the Moon, Jupiter and its Galilean moons, and the Orion Nebula (M42). These give immediate detail—crater shadows, moonlets, and nebular structure—without high magnification.
Scan open clusters like the Pleiades and the Beehive; their wide fields make 7–10× binoculars ideal. The Andromeda Galaxy (M31) appears as a faint, elongated patch and benefits from dark skies.
During meteor showers, keep your binoculars comfortable for wide sweeps rather than fixed-point viewing; a wide field of view and a reclining chair help you scan the sky efficiently.
Plan seasonal targets using a star chart: summer Milky Way fields, winter constellations, and bright globular clusters like M13 are all rewarding with 50–80mm objectives.
Stargazing Apps to Enhance Your Experience
Use a planetarium app to identify objects, set observing alarms, and simulate views for your location and time. Apps like Sky Guide or Stellarium show names, magnitude, and transit times so you know when Jupiter or a comet will be highest.
Enable the app’s augmented-reality overlay to point your phone at the sky and see labels for stars and deep-sky objects. Lock the display to your local coordinates and turn on light-pollution layers to choose better observing nights.
Several apps include meteor shower calendars and radiant maps; use these to position your field of view during major showers and to know peak times.
Pair apps with a red-light mode and an external battery for long sessions. Syncing app guidance with your tripod-mounted binoculars makes finding and tracking faint galaxies and nebulae faster and much more fun.
Care and Maintenance Tips for Longevity
Keep dust, moisture, and impact damage from reaching optical surfaces and moving parts. Use the right tools, store your binoculars in a dry place, and inspect seals and mechanics regularly.
Protecting Lenses and Coatings
Always fit lens caps when the binoculars are not in use; caps stop grit and fingerprints from abrading coatings. Use a lens hood or the rain guard while observing in breezy, sandy, or wet conditions to block particles and drops.
Carry your binoculars in a padded case or harness to prevent shocks and to avoid leaving them loose on car seats. When handling, cradle the barrels and avoid gripping the objective lenses or pressing on the focus wheel too hard. If you expect heavy dew or rain, choose waterproof or nitrogen-purged models and check manufacturer IP ratings before buying.
Avoid household cleaners, alcohol wipes, or paper towels—those can strip anti-reflective coatings. Use only optics-safe cleaning fluids and tools designed for coated glass.
Cleaning and Storage Best Practices
Start each cleaning session by blowing away loose dust with a hand blower or soft brush—do not use canned air. Work from the center outward with a microfiber cloth or lens pen; use minimal pressure to prevent grinding particles into the glass.
For stubborn smudges, apply a drop of purpose-made lens cleaner to the cloth (never directly on the lens) and wipe in gentle spirals. Clean eyecups and rubber armor with mild soapy water, then dry completely before reassembly.
Store binoculars in a cool, dry case with silica gel packets to control humidity and prevent mold. Retract eyecups, set the focus near infinity, and remove batteries if you won’t use electronic rangefinders for months. Inspect seals and moving parts seasonally and send units with internal fogging or misalignment to a qualified repair center rather than attempting disassembly yourself.
Leave a Reply