You’ll get better telescope photos faster by using AI tools that remove noise, align and stack frames, and enhance faint details—no expensive gear or perfect skies required. I’ll show you practical AI workflows and the specific tools that actually work for beginners, so you can turn ordinary captures into clear, compelling images without guessing which steps matter.
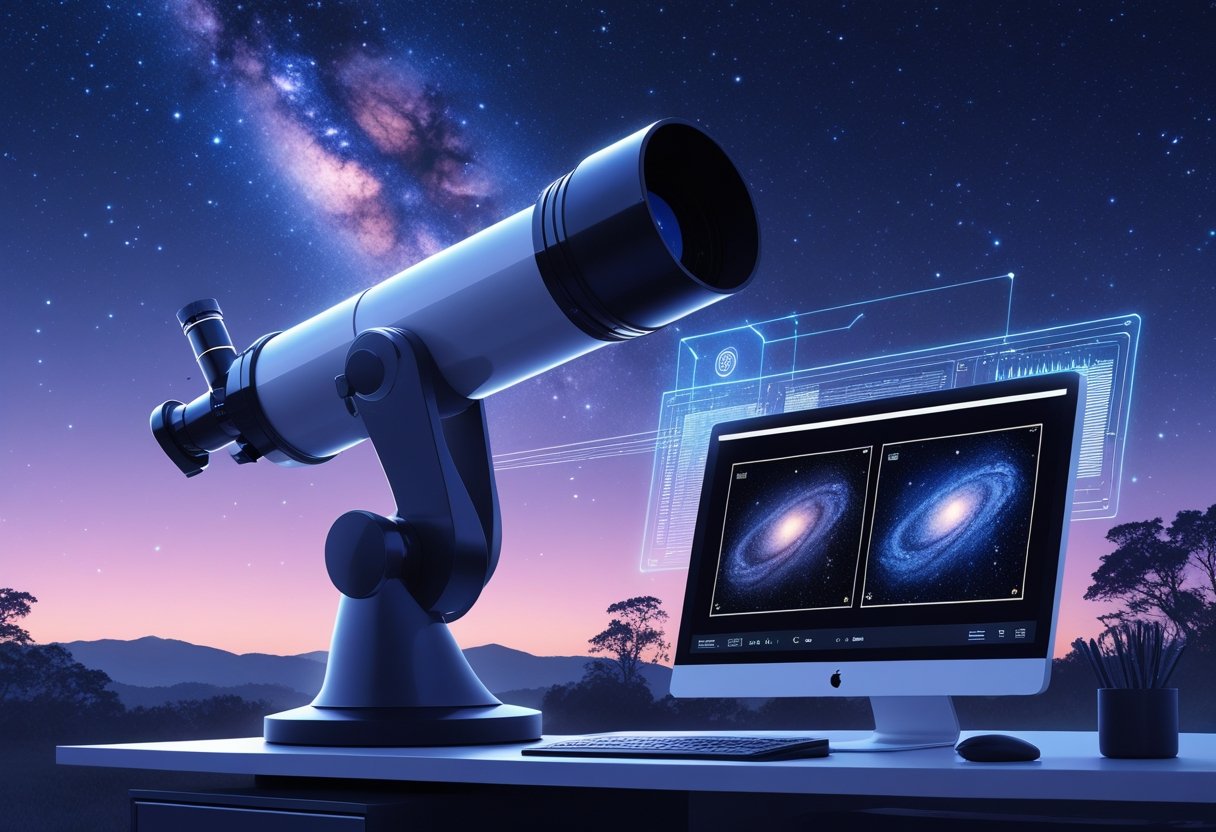
I explain how AI fits into each stage of astrophotography, from setup and capture to stacking, detail recovery, and color balance, so you understand what to shoot and why. Expect clear guidance on affordable gear, simple capture habits that improve AI results, and how to apply AI stacking and denoising without losing real astronomical detail.
My goal is to give you usable, confidence-building steps that make complex processing approachable and repeatable, whether you’re imaging the Moon, planets, or faint deep-sky objects.
Understanding AI Image Enhancement in Astrophotography

I explain how AI tools identify noise, sharpen detail, and separate stars from nebulae, and I show why those specific capabilities matter for practical image workflows.
What Is AI Image Enhancement?
I define AI image enhancement as software that uses machine learning models trained on many telescope images to perform targeted corrections.
These models learn patterns of sensor noise, atmospheric blur, and point-source stars so they can predict which pixels belong to true signal versus artifacts.
Common tasks include denoising, deconvolution (restoring blurred detail), star detection/removal, and gradient or background correction.
I note that tools range from research-grade models embedded in PixInsight plugins to consumer apps that run on desktop GPUs.
When I process my images I choose models trained on astrophotography data or a hybrid model that accepts FITS/TIFF inputs to avoid artifacts caused by models trained only on general photos.
Benefits for Amateur Astronomers
AI shortens the learning curve for people new to stacking, calibration frames, and pixel-level corrections.
I can reduce background noise while preserving faint nebular filaments, so I spend less time on trial-and-error masking and curve adjustments.
Key benefits: faster workflows, more consistent results across sessions, and the ability to rescue low-SNR captures taken with modest gear.
AI also enables creative choices—like running star removal to process a nebula separately—without hours of manual masking.
For those teaching or learning, an AI-driven learning platform can accelerate skill acquisition by showing before/after comparisons and suggested parameter ranges.
How AI Differs from Traditional Editing
Traditional editing relies on algorithmic math and manual parameter tuning: curves, wavelets, deconvolution kernels, and hand-made masks.
AI replaces some manual steps with pattern recognition; it adapts corrections based on learned examples rather than fixed formulas.
That makes AI faster and often more effective at complex tasks like distinguishing tiny stars from faint background structure.
However, I remain cautious: AI can introduce synthetic-looking detail if a model overfits or was trained on overly-processed images.
I therefore combine AI outputs with traditional checks—inspecting linear-data stacks, comparing processed results to calibration frames, and using conservative strengths when restoring fine detail.
Essential Gear and Setup for Telescope Imaging
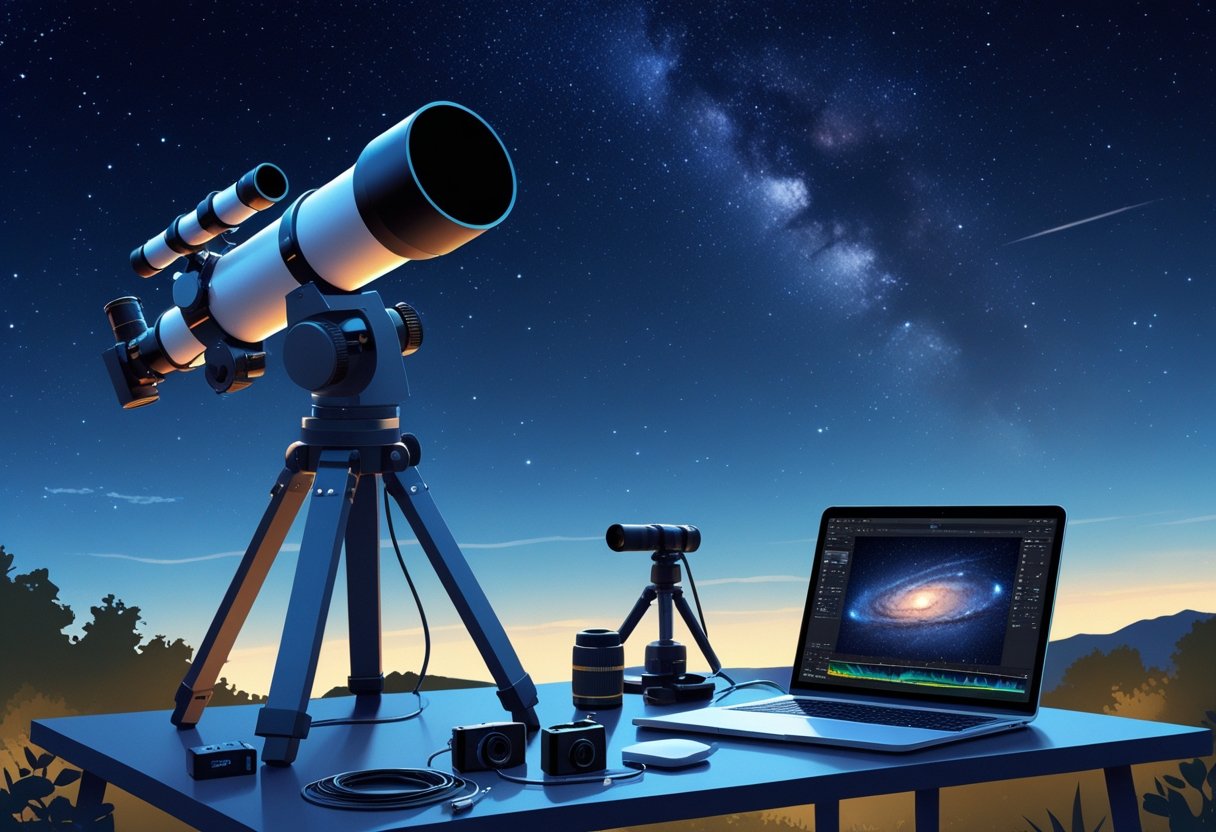
I focus on gear that directly affects image quality: the telescope’s optical type and focal length, the mount’s tracking accuracy and alignment method, and exposure strategy including timing and guiding. These three elements determine whether a frame is sharp, usable, and ready for AI enhancement.
Choosing a Telescope for Beginners
I recommend an apochromatic refractor in the 60–100 mm aperture range for starters. Refractors deliver sharp, low-maintenance images and minimize chromatic aberration, which simplifies post-processing and AI enhancement. A focal length between 250–500 mm gives forgiving framing for common deep-sky targets and pairs well with APS-C or full-frame cameras.
I avoid complex optical tubes like long-focus SCTs for beginners because high focal length amplifies tracking errors. If budget limits you, a quality camera lens (e.g., 200–400 mm f/2.8–f/4) on a robust mount produces excellent results and lets me practice framing and exposures before buying a telescope.
Importance of Tracking Mounts and Alignment
A reliable equatorial tracking mount is the single most critical purchase I make. Accurate sidereal tracking compensates for Earth rotation and prevents star trails during long exposure imaging. I look for mounts with at least 15–20 kg payload capacity for future upgrades and low periodic error ratings.
Polar alignment determines tracking quality. I use a polar scope or iterative software-assisted polar alignment to place the mount’s RA axis on the celestial pole. When I need sub-arcsecond accuracy, I enable autoguiding with a small guide scope and guide camera to correct residual drift. Good balance, tight clutches, and periodic error correction (PEC) or guiding reduce frame rejection and improve final stack quality.
Fundamentals of Long Exposure Imaging
Long exposures capture faint details but require disciplined setup. I choose exposure durations based on focal length and mount performance: shorter subs (30–180 s) with higher ISO for unguided setups, and longer subs (5–15+ min) when I have precise guiding. I always take calibration frames: darks, flats, and bias to remove sensor noise and vignetting before AI-based enhancement.
Timing matters. I schedule sessions when the target is highest (near meridian transit) to minimize airmass and atmospheric distortion. I also avoid full moon nights for faint nebulae and prefer stable seeing windows indicated by local seeing forecasts. Combining well-tracked subs and proper calibration gives cleaner data that AI enhancement tools can improve more reliably.
Capturing Quality Telescope Photos
I focus on clear planning, correct camera setup, and deliberate composition to get usable deep-sky files for later AI enhancement. Good calibration frames and consistent exposure habits save hours in post.
Planning Your Imaging Session
I pick targets by checking rise/set times and target altitude; aim for >45° altitude to reduce atmospheric blur. I consult moon phase and avoid nights within three days of full moon for faint DSOs.
I use a light-pollution map and choose filters (LP, narrowband H-alpha/OIII) when shooting from suburban sites. These choices change total exposure time and stacking strategy.
I schedule a run of consecutive subs long enough to reach the target signal-to-noise ratio; that usually means many 180–600 s exposures on a small scope or shorter on a guided mount.
I prepare spare batteries, dew heaters, and a cold-weather plan. A pre-run checklist (polar alignment, plate solve, focus) prevents wasted frames and improves the quality of lights for later calibration and AI processing.
Camera Settings and Calibration Frames
I shoot in RAW and use consistent gain/ISO and exposure across the full sequence of lights. Matching settings across subs makes master calibration frames effective.
I create master bias (many short exposures at camera’s fastest shutter), master darks (same temp/exposure as lights), and master flats (matching optical train and focus) to remove sensor, thermal, and vignetting artifacts.
I take flats every session after focus and before changing any optical element; a bad flat can ruin background uniformity. I subtract master bias from flats and lights, and apply darks before stacking to keep star and nebula detail intact.
I log temperature and equipment settings with each run. Consistent metadata simplifies later processing and helps AI tools distinguish real structures from systematic noise.
Composing Deep-Sky Astrophotography
I frame DSOs to balance subject scale and context: allow breathing room around large nebulae and center compact galaxies for detail. Composition decisions affect how I later stretch and denoise images.
I consider orientation for mosaics and avoid placing very bright stars on the edge where deconvolution and star removal struggle. I prefer to include identifiable reference stars to aid plate solving and registration.
I manage dynamic range by using a mix of short and long exposures for targets with bright cores and faint outskirts, then combine them during stacking or HDR blending.
I keep notes on composition choices and exposure ranges so I can recreate or refine the framing in future sessions and in AI-driven enhancement workflows.
AI-Powered Image Stacking and Alignment
I explain how stacking, alignment, and AI-driven registration work together to reduce noise, recover faint detail, and produce a clean master image ready for post-processing. Expect practical steps, common pitfalls, and software suggestions you can try tonight.
The Role of Image Stacking in Noise Reduction
Image stacking improves signal-to-noise ratio by combining multiple short exposures so the constant signal (stars, nebulae) sums while random noise averages out. When I capture 60 x 30‑second frames, the useful signal increases roughly with the number of frames, while random noise drops by the square root of that number; this makes stacking the single most effective basic technique for telescope photography noise reduction.
I always include calibration frames—darks, flats, and biases—during stacking to remove thermal noise, vignetting, and sensor artifacts. Software stacks using median, average, or sigma‑clipped algorithms; each handles outliers (satellites, cosmic rays) differently. Choose median or sigma‑clip for robust rejection of transient artifacts. Proper exposure, consistent gain/ISO, and good tracking reduce the load on stacking and improve final dynamic range.
AI Alignment and Registration Techniques
Alignment or registration synchronizes star positions across frames before stacking. Traditional methods match star centroids and compute translations, rotation, and scaling. AI accelerates and refines this by identifying star patterns and learning to correct subtle distortions from field curvature and differential atmospheric refraction.
I rely on AI-driven tools that perform sub-pixel alignment and non-linear warping when field rotation or slight flexure is present. These tools also separate moving foregrounds from static sky for nightscapes. When aligning, watch for misregistrations that cause star elongation; inspect star profiles at 100% zoom after alignment. Use local (patch-based) registration for wide-field or mosaic projects to avoid stretching in the corners.
Recommended Software for Beginners
For beginners I recommend starting with free, well-documented tools that implement both traditional and AI-improved routines.
- DeepSkyStacker — solid for deep‑sky stacking with calibration frame support and simple weighting options. (Windows)
- Sequator — fast and beginner-friendly for Milky Way and nightscape stacks; it masks foregrounds and handles star alignment automatically. (Windows)
- RegiStax — excellent for high-frame-rate planetary stacks and includes alignment and wavelet sharpening tools that complement stacking.
I suggest this workflow: capture consistent frames + take darks/flats/biases, run automatic alignment in Sequator for wide-field shots, use DeepSkyStacker when you need detailed calibration for nebulae or galaxies, and use RegiStax for planetary/video stacks. Test different stacking algorithms (median vs. average) and compare results to find the best balance between noise suppression and detail retention.
Enhancing Details and Colors with AI Tools
I focus on extracting fine structure and accurate color from telescope images while avoiding artifacts. I balance local detail recovery with global tonal and color corrections so nebulae, stars, and planetary features look natural and informative.
Detail Enhancement Using AI Filters
I start by assessing noise and native resolution before applying any AI filters. Use blur-detection and signal-to-noise estimates to decide if a neural-network-based deconvolution or a super-resolution model is appropriate. Apply AI deblurring or single-image super-resolution in short, iterative passes rather than a single strong pass to avoid ringing and false textures.
Target small-scale structure (filaments, dust lanes) with selective masks so stars and smooth gradients remain untouched. Many tools provide a “structure” or “detail” slider — reduce global sharpening while boosting mid-frequency detail. When using presets, I treat them as starting points and tweak strength, radius, and masking.
Always compare before/after at 100% and in small crops. If halos or star bloating appear, back off enhancement or apply star masks to protect point sources. Keep a lossless copy of the original and export versions at different enhancement strengths for later comparison.
Color Calibration and Dynamic Range Optimization
I calibrate color first using a neutral background or reference star to correct chromatic offsets created by optics or sensors. Use white-balance controls and targeted color balance tools to remove color cast; avoid global saturation boosts that can clip nebular gradients.
For dynamic range, I apply HDR-like processing: recover shadow detail in dark nebulosity and protect highlights in bright star cores. Use local exposure and graduated masks rather than extreme global curves. AI-based tonal mapping can compress dynamic range while preserving perceived contrast; test algorithms on a mid-tone reference area to prevent crushing faint structures.
Preserve scientific fidelity by keeping metadata about processing steps and by not inventing colors—if the algorithm suggests vivid hues, validate them against calibrated references or multi-band exposures. When available, combine data from different filters before color grading to maintain physical accuracy.
Software for AI-Assisted Editing
I use a mix of dedicated astro tools and general editors depending on the task. For scientific-grade preprocessing and registration I rely on PixInsight for integration, deconvolution, and multi-scale wavelet structure work. PixInsight pairs well with mask-based workflows and preserves fine detail during noise reduction.
For color grading and final touch-ups I use Adobe Photoshop and Lightroom. Photoshop’s neural filters, high-pass sharpening, and layer masks let me apply targeted AI enhancements and protect stars. Lightroom helps with global tone, color calibration, and preset batches for consistent results across multiple frames.
Open-source options like GIMP work for basic edits and masks, though they lack some neural-network features. For fast, automated enhancement I test standalone AI photo enhancers and machine-learning super-resolution tools; then I always validate outputs back in PixInsight or Photoshop.
Refining and Sharing Your AI-Enhanced Astrophotography
I focus on practical steps you can take immediately: a clear post-processing sequence, sensible export choices, and places to learn or get live help. These choices matter for image fidelity, crediting AI work, and growing as an imager.
Post-Processing Workflow for Beginners
I start with calibrated and stacked FITS files whenever possible. Calibration (darks, flats, bias) removes sensor and optical artifacts; stacking increases signal-to-noise. Use established tools like DeepSkyStacker or PixInsight for those steps before applying AI enhancements.
Next, I apply global adjustments: background neutralization, gradient removal, and a modest stretch. Then I introduce AI tools—noise reduction, deconvolution, or star treatment—on a duplicate layer or a copy of the image. That keeps the original data intact.
I work in small increments and toggle before/after views. I avoid letting generative models invent structure not present in the data. If an AI filter offers confidence maps or preserves metadata, I use those to judge changes. Finally, I save a lossless master (16-bit TIFF or FITS) and a web-ready JPEG for sharing.
Exporting, Sharing, and Community Platforms
I export a high-resolution master plus a downsized JPEG for web posts. For prints, I convert to the printer’s color profile and keep at least 300 DPI. For social media I downscale to platform-appropriate dimensions to avoid recompression artifacts.
When I share, I disclose processing steps and whether AI tools modified the image. Transparency builds credibility. I post on forums and platforms that value astrophotography practice: specialized communities, Twitter threads from experienced imagers, and dedicated groups on YouTube comment sections or channel posts.
I use platform-specific formatting: include exposure details, total integration time, equipment, and a short processing log. For live troubleshooting or quicker feedback I turn to real-time help—an AI-powered astrophotography course or an on-demand astrophotography mentor like SnapInstruct can provide focused guidance and problem solving.
Learning Resources and AI Astrophotography Support
I rely on structured learning and just-in-time help. An AI-powered astrophotography course offers lessons on stacking, calibration, and safe AI use. I pair course modules with hands-on sessions to apply techniques to my own data.
For immediate questions I use an AI astrophotography coach or mentor-on-demand services to get stepwise fixes—especially for issues like elongated stars or stubborn gradients. I follow creators on YouTube for walkthroughs and save useful threads on Twitter for tips and processing scripts.
I practice by reprocessing older captures and comparing results. That iterative approach, combined with targeted learning and real-time problem solving, accelerated my skills far more than passive reading alone.
Exploring Deep-Sky Objects with AI Enhancement
I focus on practical steps and common pitfalls when using AI tools to improve images of faint, extended objects. Expect guidance on preserving real structure, reducing noise, and presenting results without fabricating details.
Capturing Nebulae and Galaxies
I prioritize collecting high-quality calibrated data before applying AI. For nebulae like the Orion Nebula, I gather many subs (short hydrogen-alpha and longer RGB exposures), record matching darks/flats/bias, and verify guiding to limit star elongation. AI denoisers work best when the stacked image already has a reasonable signal-to-noise ratio; otherwise they can smear faint filaments or invent texture.
When I use AI-based deconvolution or denoising, I apply them locally—masking bright stars and nebular regions separately. I test on small crops to check that delicate emission structures remain intact. If a tool offers an “astronomical” or “preserve detail” mode, I use it and compare results at 100% zoom.
Imaging Star Clusters and Nightscapes
Star clusters require different handling than nebulae. I preserve star cores and gradients to avoid bloated or undersized stars. I often run a star-specific model (or StarX-style module) to separate star processing from the cluster background. This keeps the cluster’s dynamic range intact and prevents stars from swallowing faint surrounding nebulosity.
For nightscapes—foreground plus deep-sky—I align processing priorities: retain natural foreground color and exposure while enhancing the sky background with star-preserving denoising. I use local contrast and selective sharpening on the Milky Way to reveal dust lanes, but I avoid over-sharpening that creates halos around stars. When shooting combined scenes, I bracket exposures and blend them before AI enhancement to prevent the model from altering foreground geometry.
Showcasing Your Deep-Sky Results
I prepare two versions for sharing: a “data-faithful” edit and an aesthetic edit. The data-faithful image keeps applied AI to a minimum—noise reduction, modest contrast, and only conservative deconvolution—so peers can assess real features. The aesthetic edit can use stronger AI-based local contrast and color grading, but I clearly label it as enhanced if sharing with scientific audiences.
I present images with a brief processing log: telescope, camera, total integration time, filters, and which AI modules I ran. This transparency helps others reproduce results and prevents misinterpretation when a synthetic-like texture appears. When posting online, I link to examples of best practices such as AI-aware post-processing workflows to help viewers judge technique and authenticity.
Leave a Reply